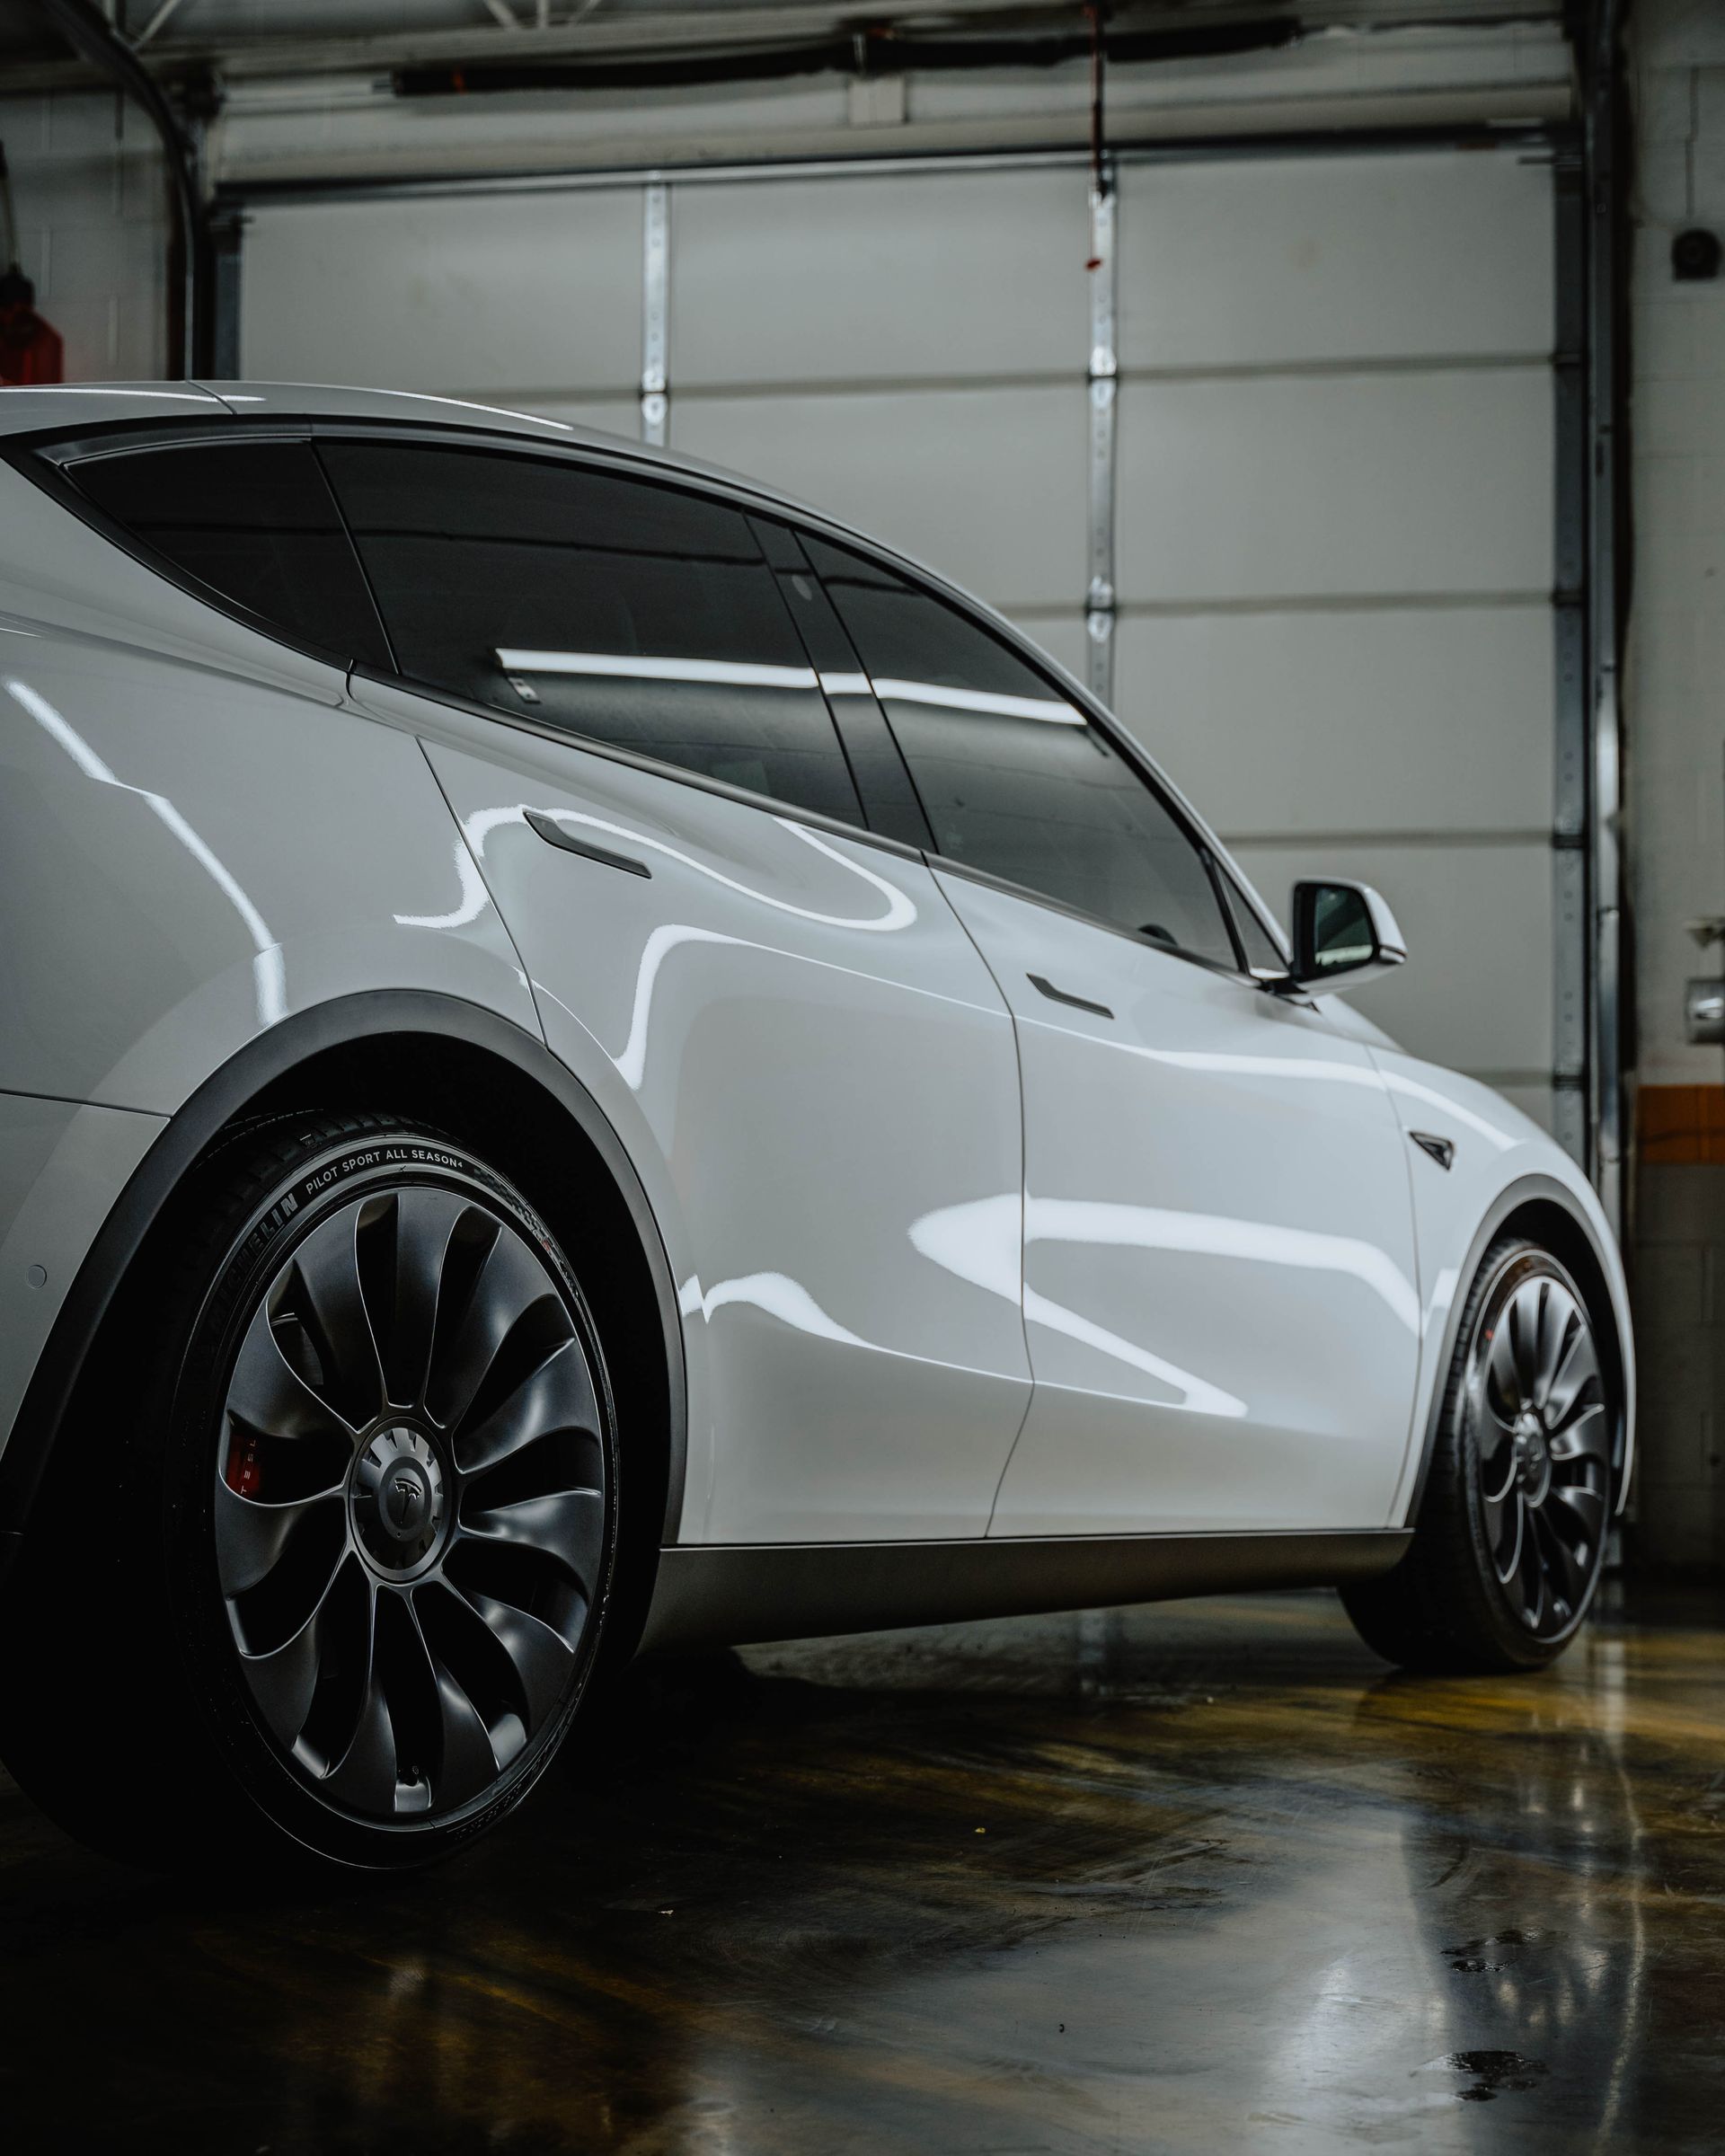
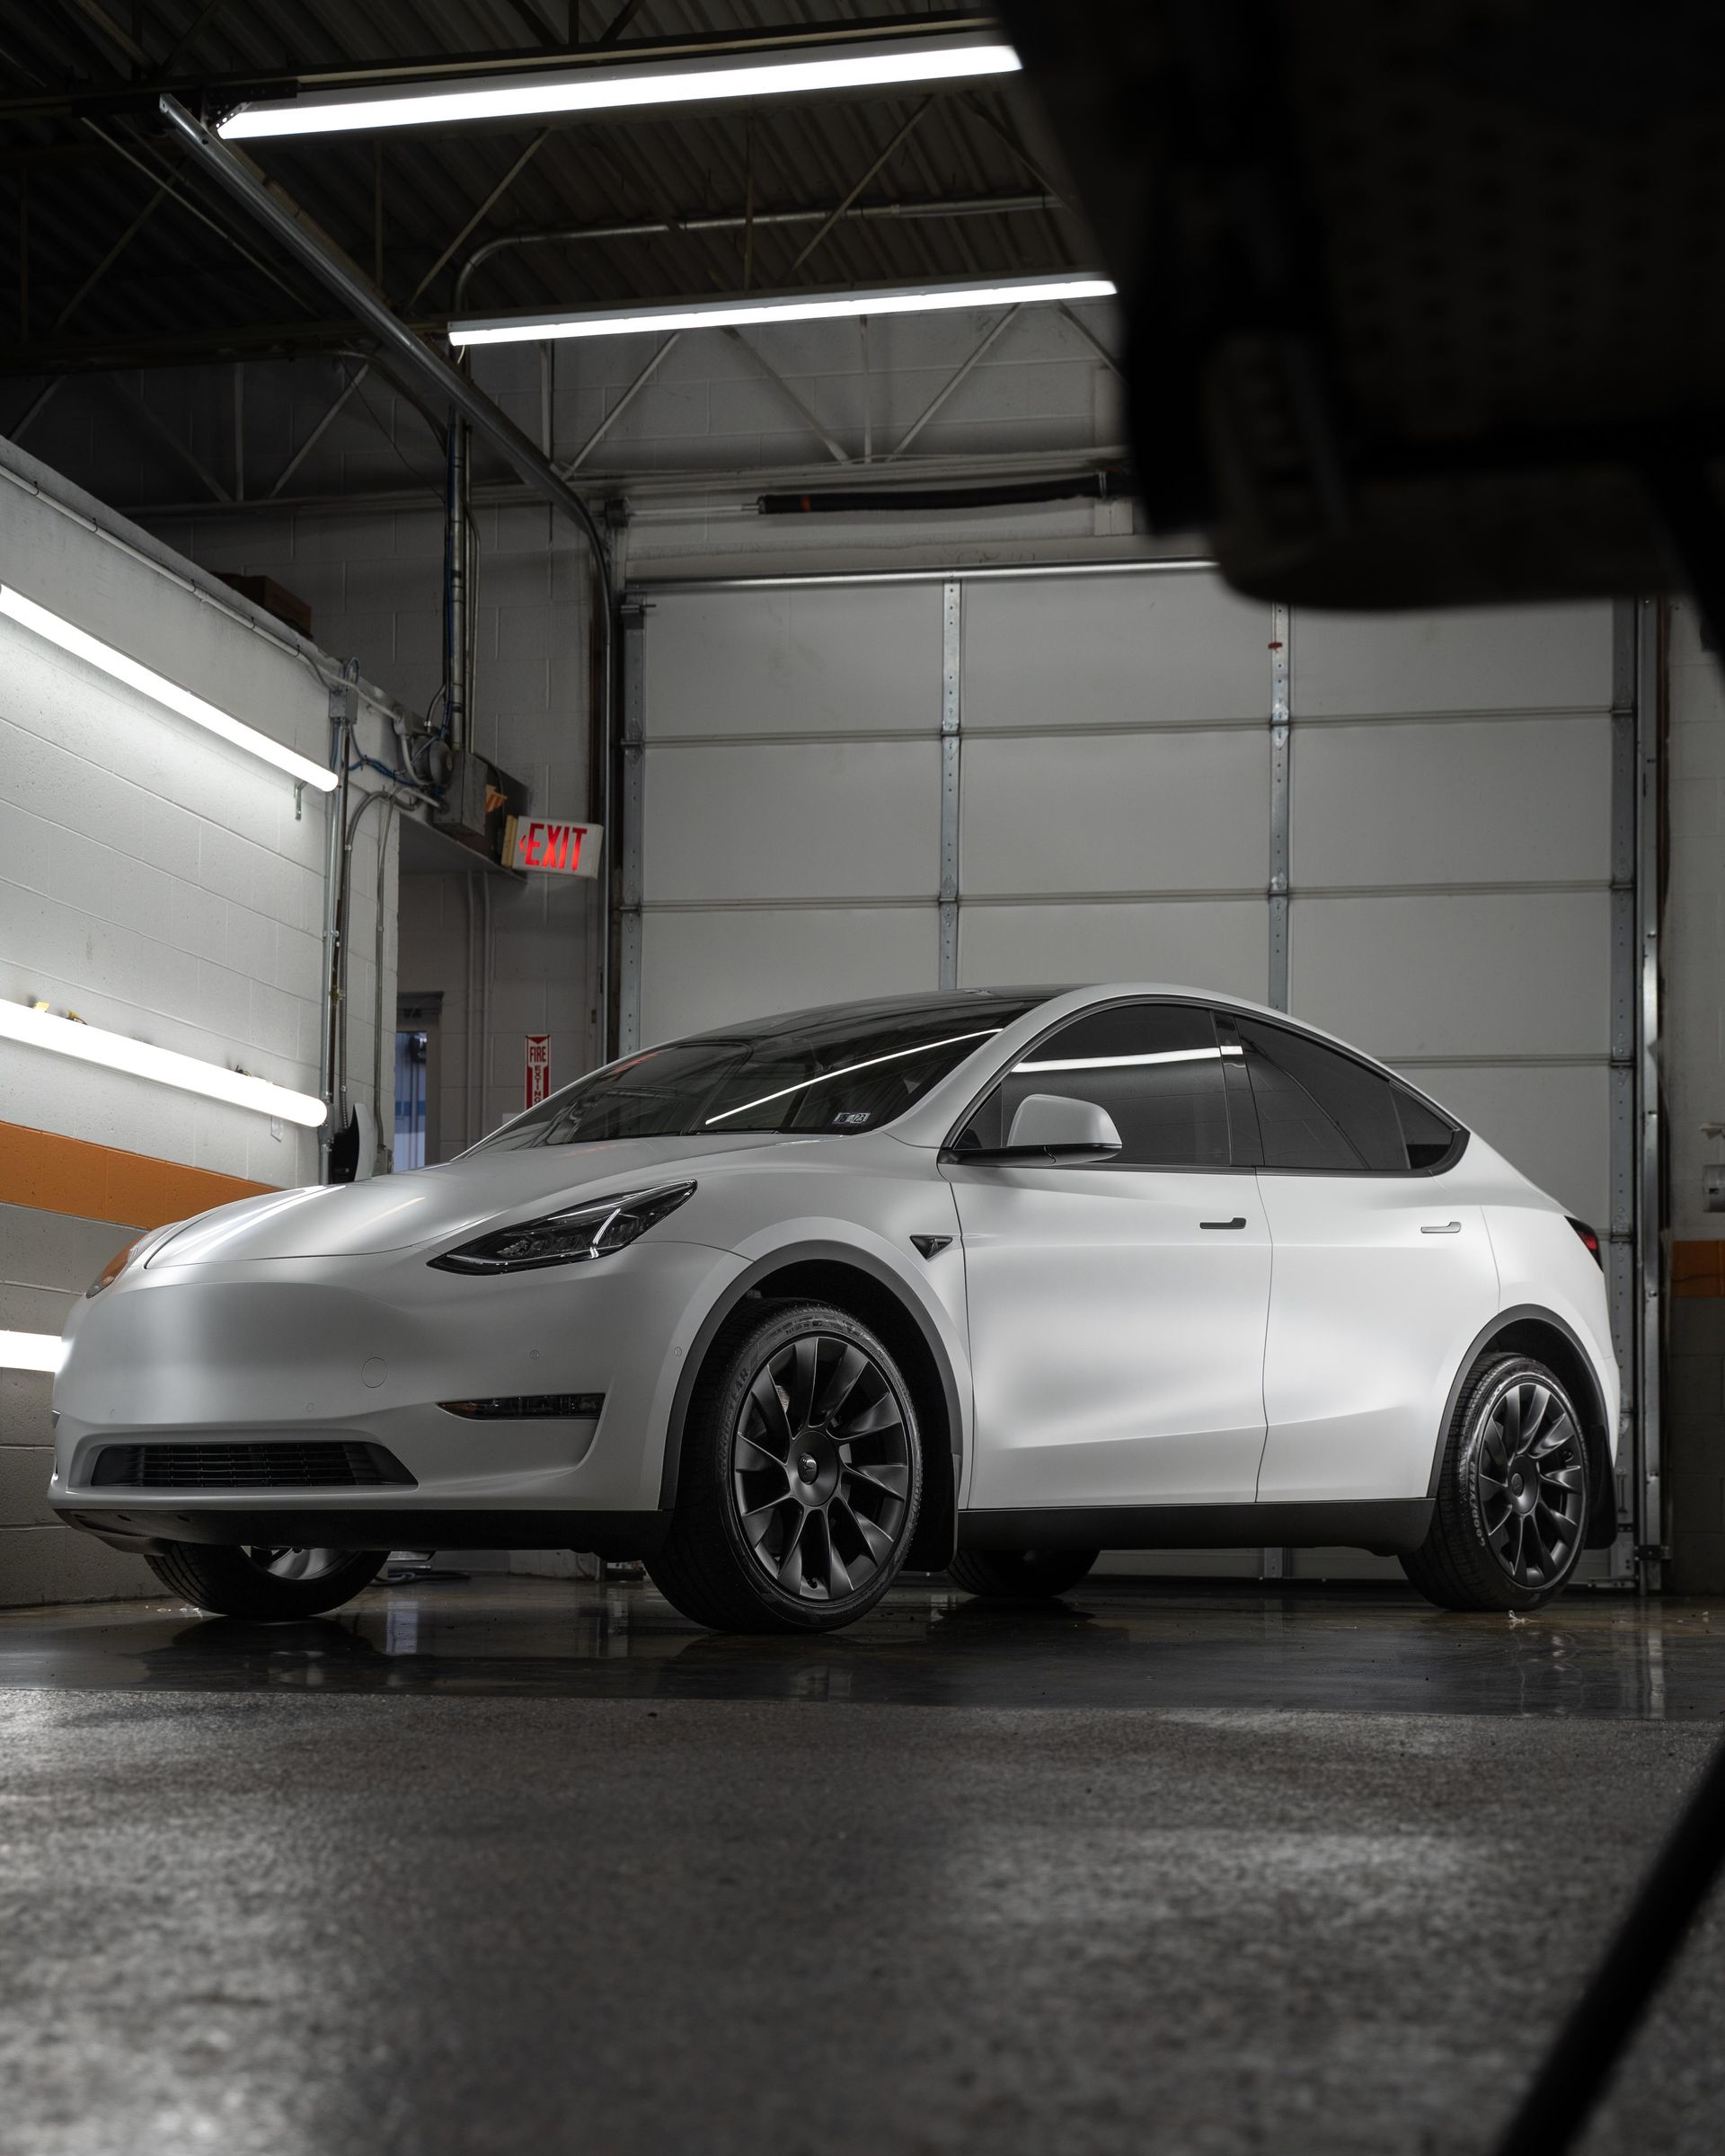
How Long Does Window Tint Take to Fully Cure? Understanding the Process
Choosing to tint your vehicle’s windows is more than a stylistic enhancement—it represents a practical investment in both comfort and protection. Window tint helps maintain a cooler cabin temperature, particularly during warmer months, by reducing heat and glare. However, before operating the windows or exposing them to external elements, it is essential to understand the importance of the curing process. A common misconception is that window tint is fully effective immediately after installation; in reality, allowing adequate time for the film to properly cure is critical to achieving long-term performance and avoiding complications.
The general recommendation is to wait between 2 and 5 days for window tint to fully cure, depending on factors such as installation method and environmental conditions. For best results, it's advisable to avoid rolling down the windows during this period, especially if the tint was applied below the gasket.
What is the Curing Process for Window Tint?
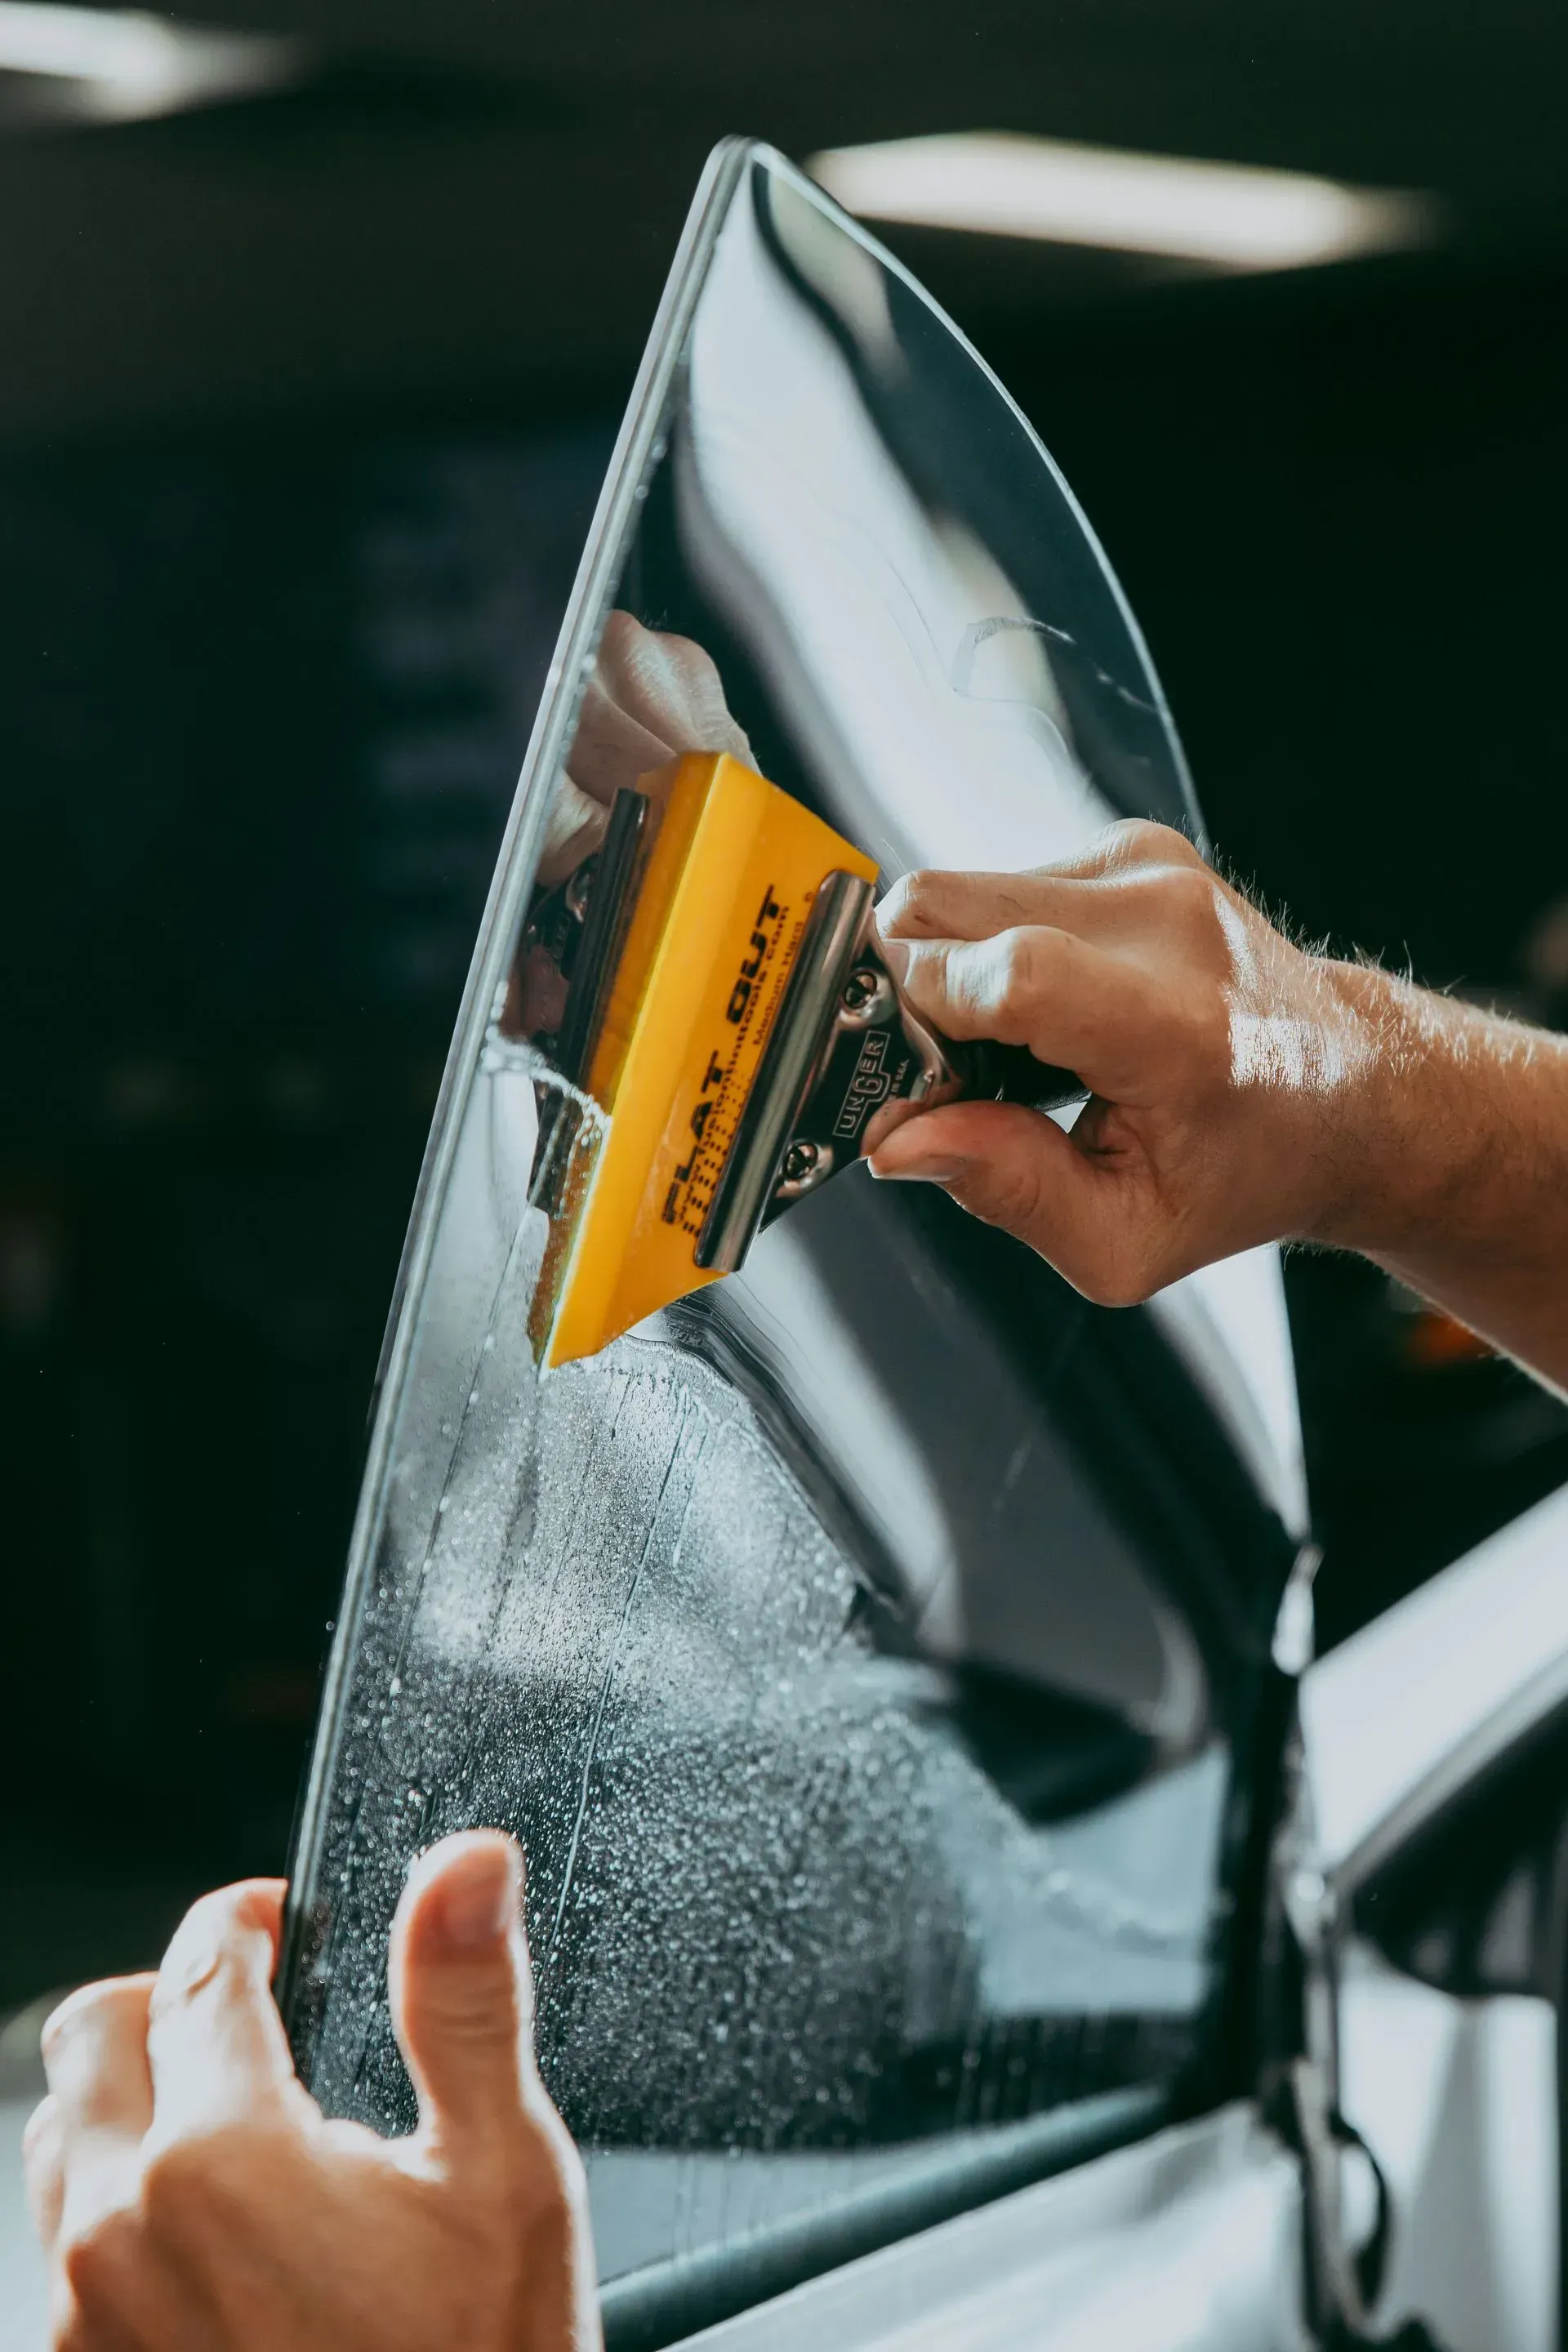
The curing process for window tint is an important phase that begins right after installation and continues over several days. When you apply a thin film to your vehicle's windows, you're not just altering the appearance; you're setting into motion a reaction where the adhesive bonds with the glass. This innovative bonding mechanism relies on the gradual evaporation of moisture trapped between the tint and the window. Essentially, it's a valuable dance of adhesion that determines how well your tint holds up against wear and tear.
The initial days post-installation are particularly vital. While the adhesive starts sticking immediately, it doesn’t mean it's finished bonding yet. This early stage is crucial because if moisture remains, it can interfere with adhesion and lead to bubbling or peeling down the road. As any experienced installer will tell you, patience during this period pays off in longer-lasting results. This phase of moisture evaporation can be accelerated by sunlight and warmth, which are essentially nature's little helpers for ensuring the vinyl cures correctly. Think of it as inviting a gentle breeze to help dry freshly washed clothes faster; warm environments facilitate quicker evaporation and bonding.
However, note that environmental conditions also play a significant role in this curing process. If temperatures dip below 50°F or humidity levels rise above 50%, you might find yourself facing extended curing times. Cold and wet conditions slow down evaporation, which means your tint might take significantly longer to set—possibly even a week or more under suboptimal conditions. In contrast, warmer temperatures above 70°F generally encourage faster curing times, allowing you to enjoy those tinted windows sooner. So if you can park in direct sunlight after installation—take advantage of it! Not only does this boost the drying speed, but it also optimizes your overall experience when using your vehicle.
Keep in mind common practices from seasoned installers: while many suggest waiting a conservative 2-3 days before rolling down your tinted windows, some believe that if everything was applied correctly, you could be fine after just 24 hours. No matter what timeline you're working within, though, always follow specific care instructions from your shop to ensure great results.
How Long Does Window Tint Take to Cure?
The curing period for automotive window tint typically ranges from 2 to 30 days, though most professionals recommend waiting at least 7 days before operating windows or cleaning the surface. This timeframe can vary considerably depending on factors such as ambient temperature, humidity levels, and the quality of installation.
General Guidelines
While manufacturer recommendations provide helpful benchmarks, curing times are ultimately influenced by environmental conditions. Under optimal circumstances—moderate temperatures and low humidity—window tint may cure within 3 to 5 days. In contrast, colder climates or high humidity can extend the curing period significantly. These variables underscore the importance of adjusting expectations based on the local environment and time of year.
Environmental Considerations
External conditions such as heat, direct sunlight, and moisture levels have a substantial impact on the rate at which tint cures. Ideal curing typically occurs when temperatures range between 70°F and 100°F (21°C to 38°C), with relative humidity levels below 50%. In less favorable conditions, the adhesive may require additional time to bond properly with the glass, delaying the final results.
Practical Recommendations
- Installation Quality: The precision and care taken during installation directly affect how efficiently the film bonds to the surface.
- Sunlight Exposure: Whenever possible, parking in direct sunlight can accelerate curing by activating the film’s adhesive properties.
- Follow Aftercare Instructions: Always adhere to the care guidelines provided by the installation facility, as recommendations may vary depending on the type of film used and the environmental conditions at the time of application.
Exercising patience during the curing process is essential to ensuring the longevity and appearance of window tint. Prematurely rolling down windows or cleaning the surface may compromise adhesion and aesthetic quality. By allowing sufficient time for the film to fully set, vehicle owners can help ensure optimal performance and visual clarity for the long term.
Factors Influencing Curing Time
One major factor impacting the curing time of window tint is climate conditions. When temperatures rise and the sun shines brightly, the UV rays help evaporate any moisture trapped within the adhesive layer more effectively. Therefore, in hot and sunny environments, you might find that your tinted windows cure significantly faster. Conversely, if you live in a colder or more humid region, expect longer curing times, as high humidity levels impede evaporation. This means that under such conditions, even a well-installed film might take longer to set completely, leaving you checking every few hours to see how it’s doing.
So while climate plays a crucial role, the type of film you choose also deserves your attention. The type of window film used can have varying effects on curing time. For instance, films equipped with thicker adhesive layers may require more patience during the curing process compared to thinner options. While solid window films offer durability and strong protection against UV rays, their adhesives often demand additional time for complete adhesion. That creates an interesting trade-off between immediate aesthetics and long-term performance; a thicker film may lead to a better final product but at the cost of necessary wait time.
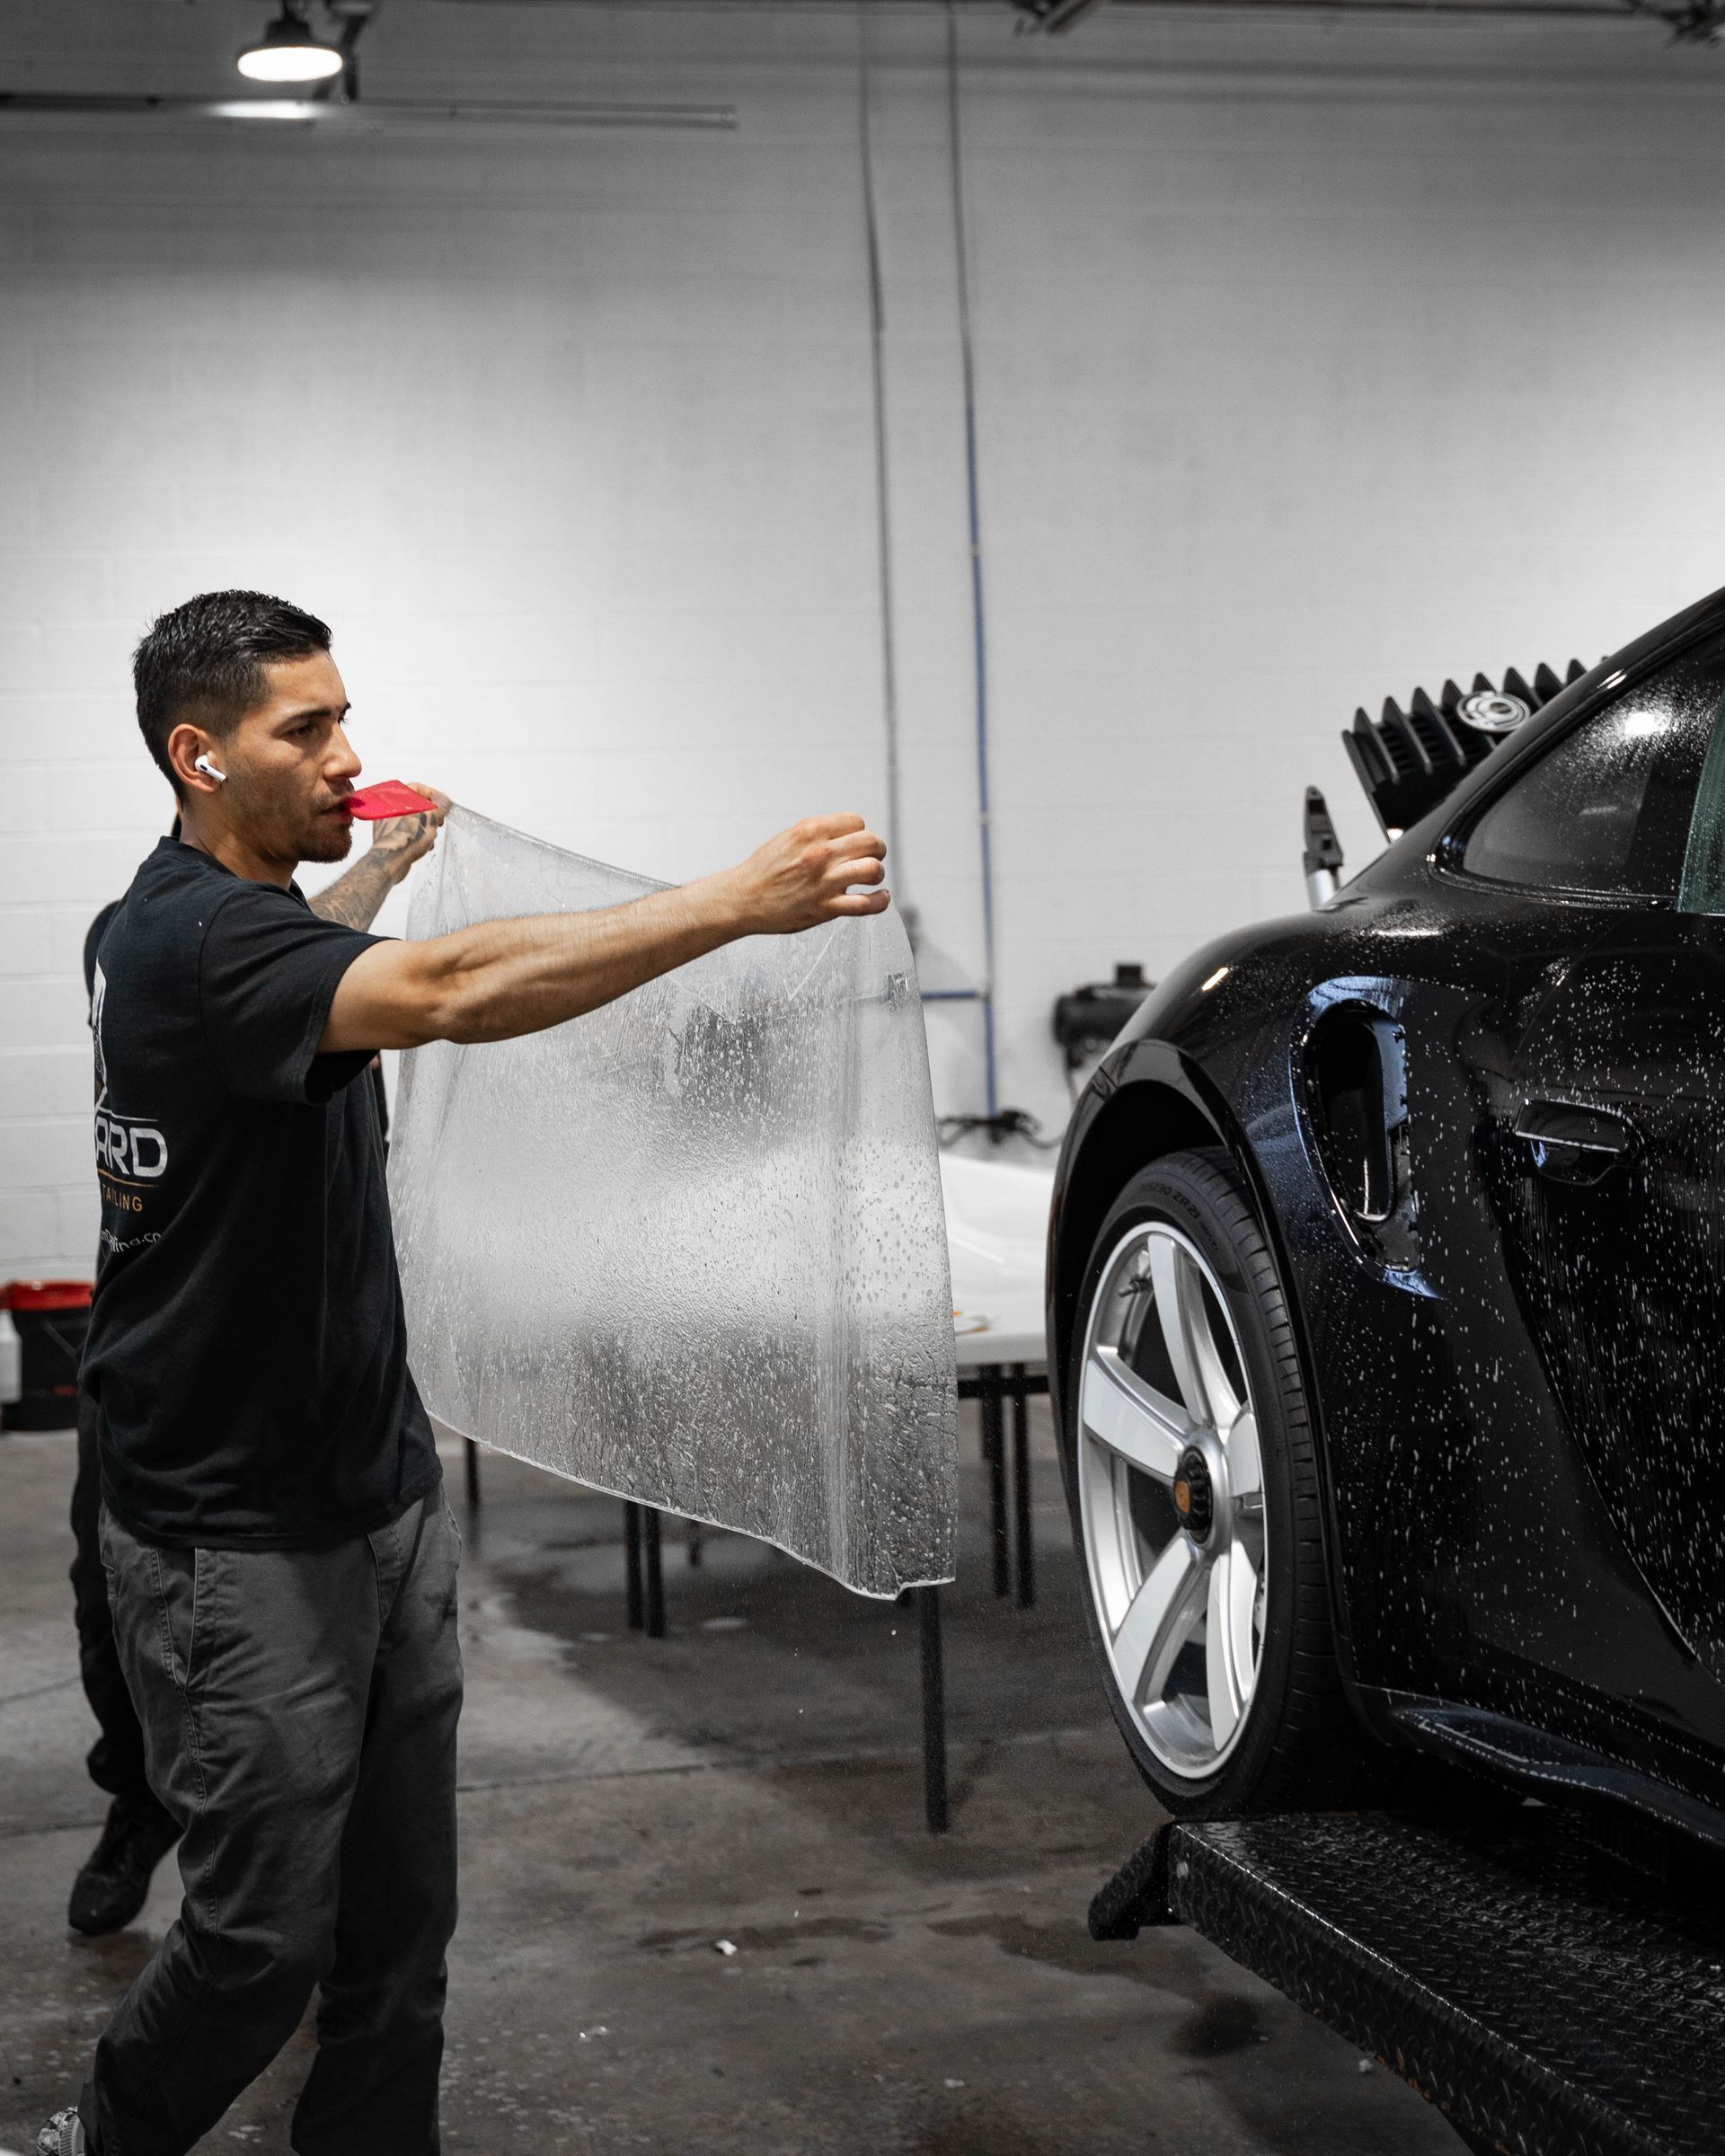
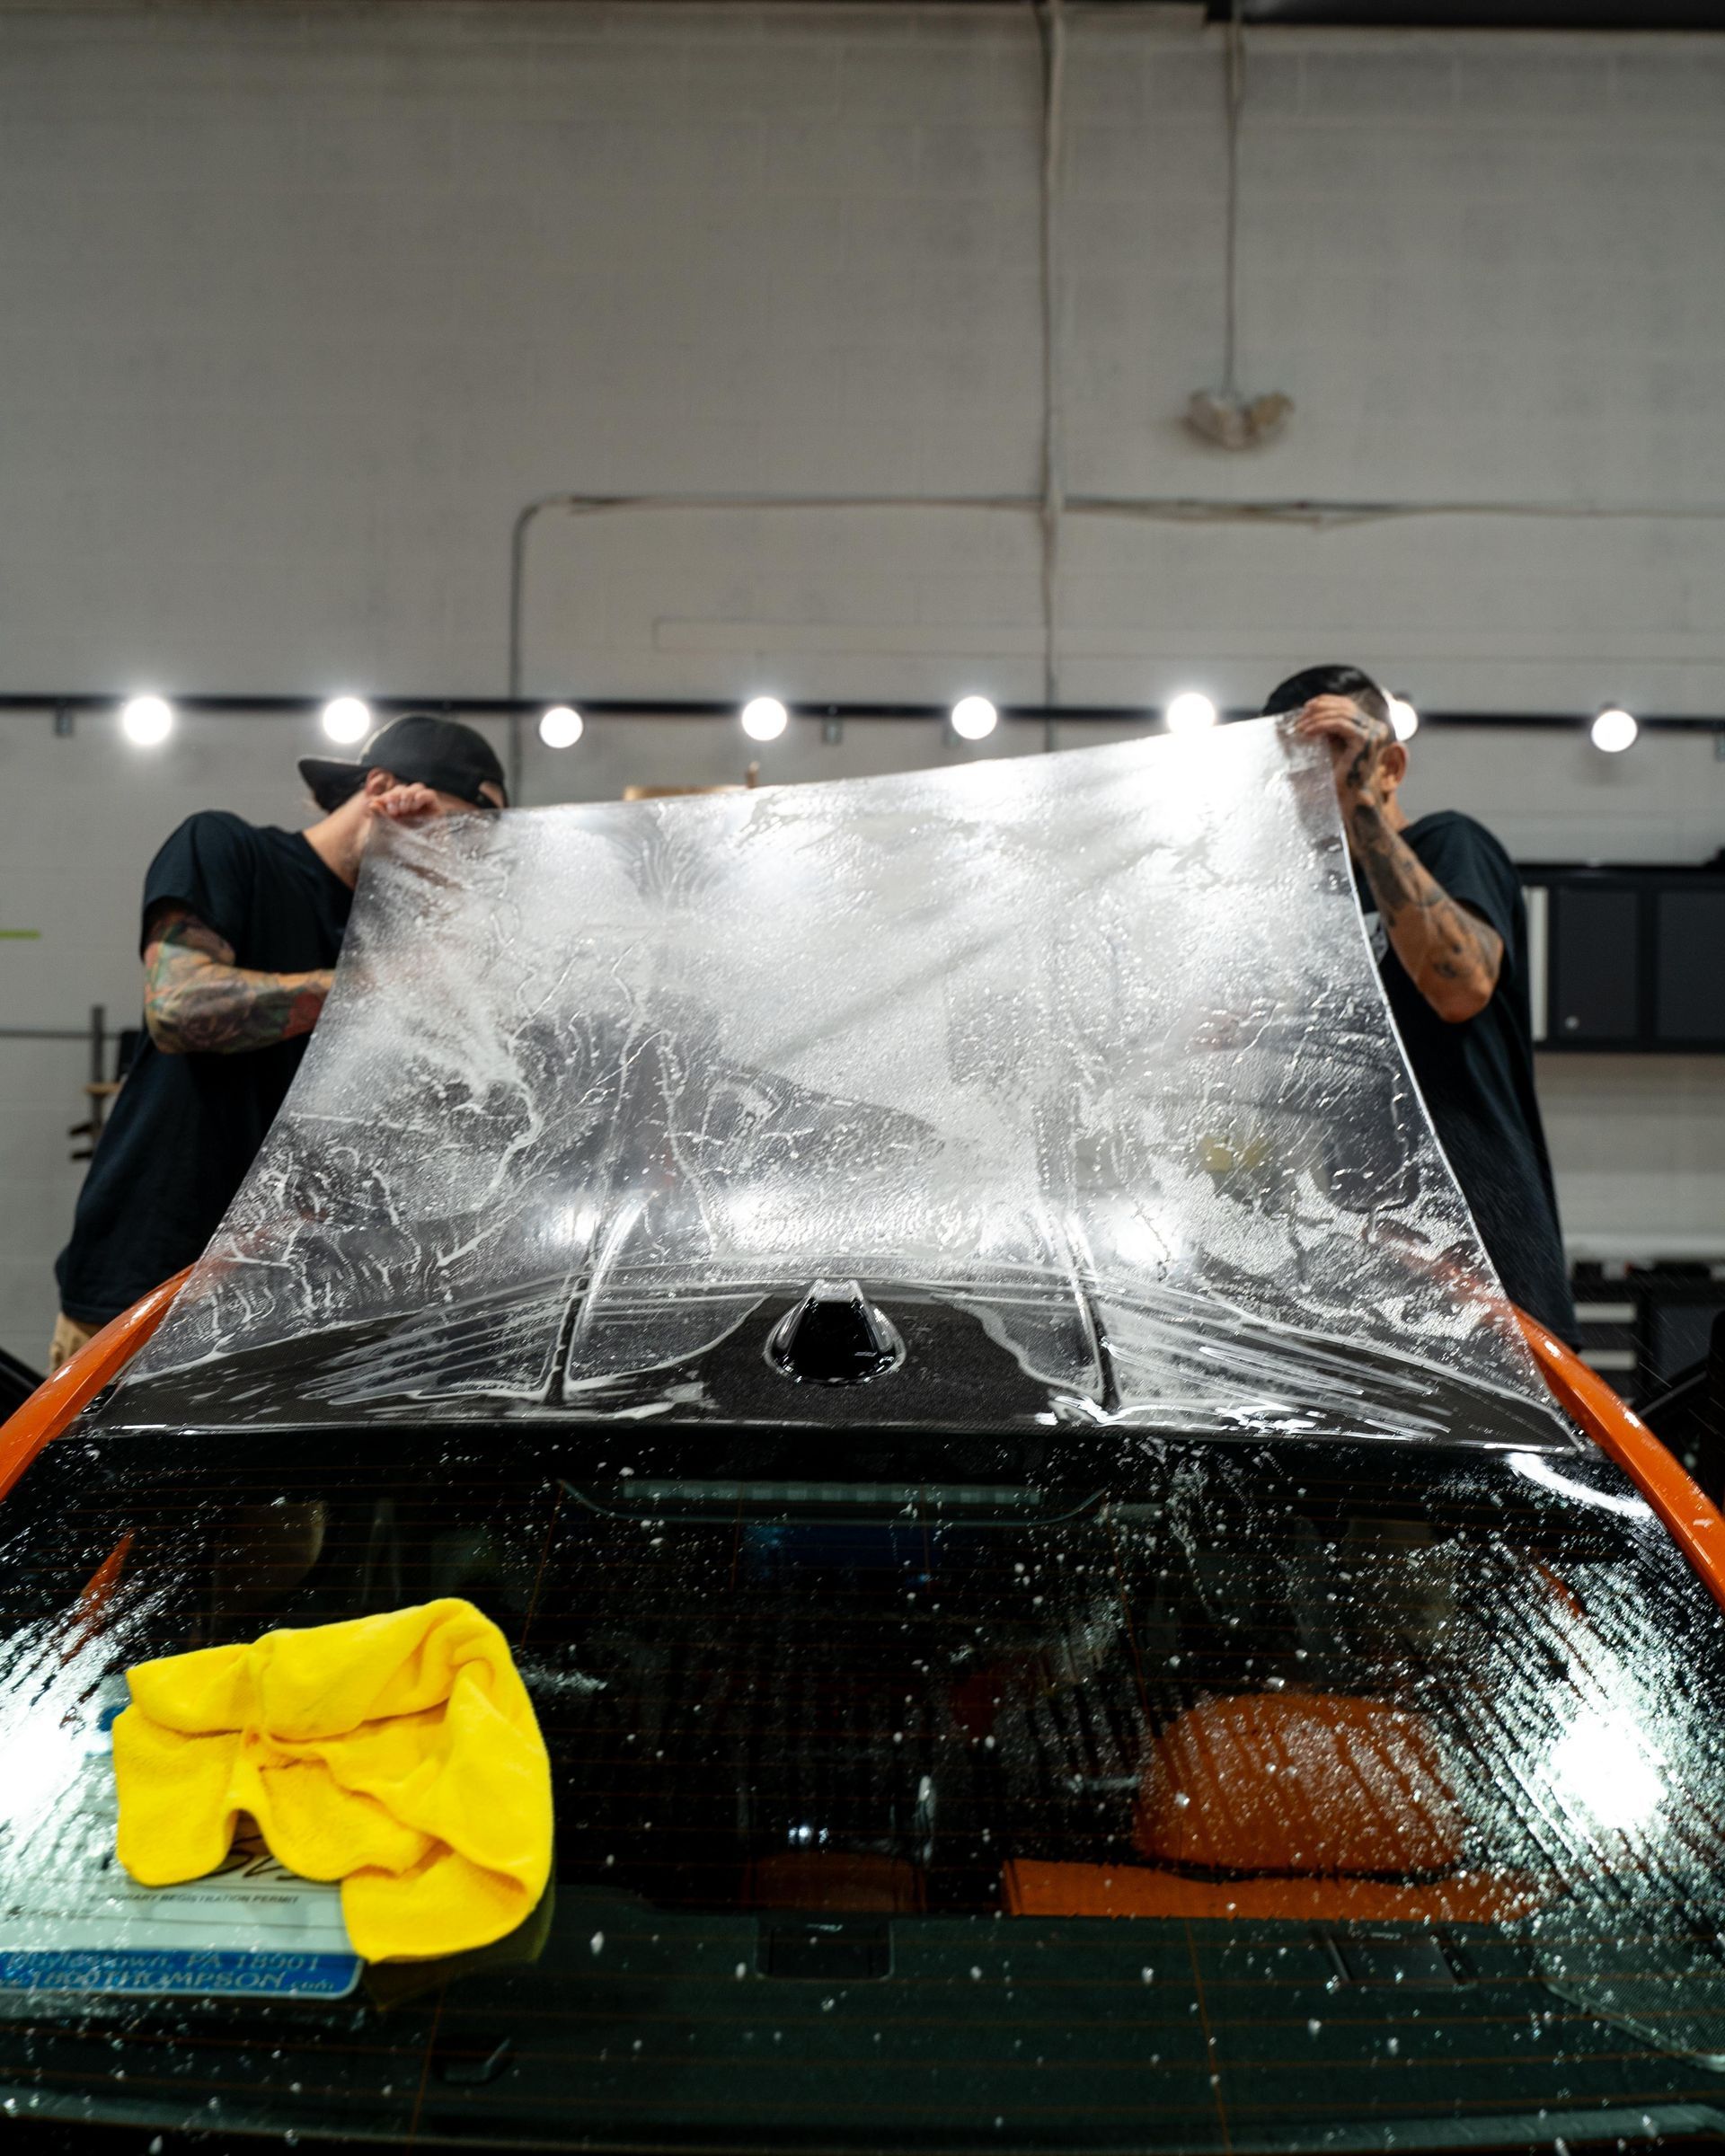
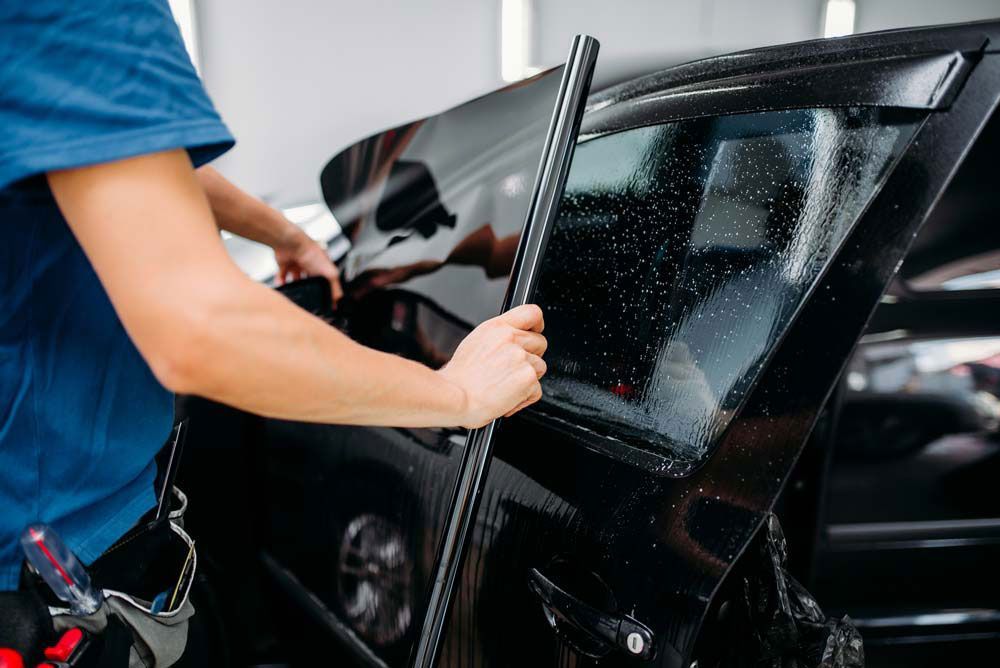
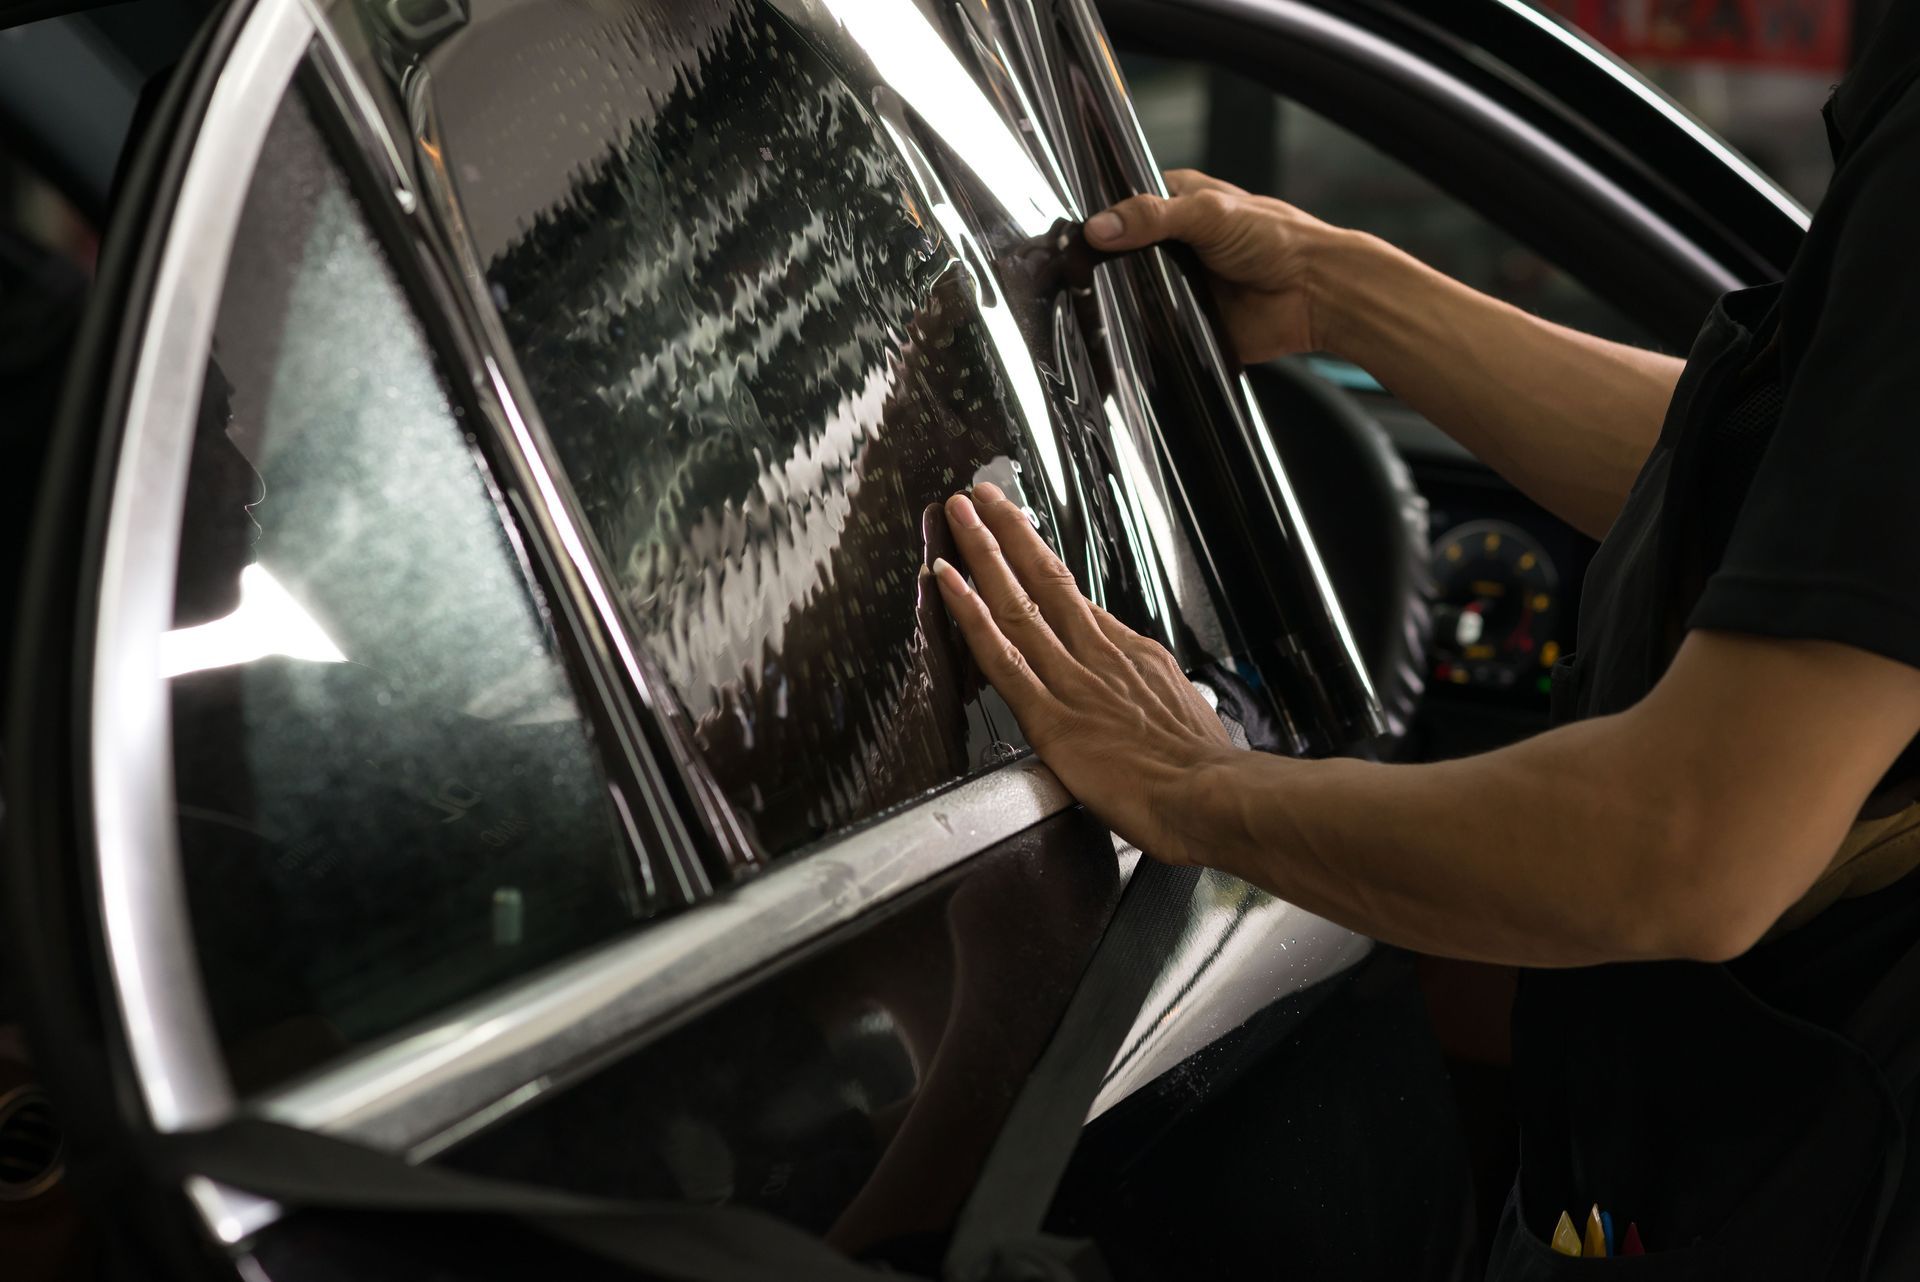
The installation quality greatly influences how quickly your window tint will cure. A skilled installer ensures the film adheres correctly without trapping air bubbles or excess moisture beneath its surface. If the installation isn’t executed flawlessly, those trapped pockets of air can impede both adhesion and moisture evaporation, meaning they’ll remain longer than desired. This additional presence not only delays curing but can also compromise the look and longevity of your tinting job overall. Hence, investing in a reputable professional installer pays dividends down the road.
Recognizing Fully Cured Window Tint
Identifying whether your tint is fully cured or not isn't just a tick-off on your to-do list; it’s crucial for ensuring the longevity of the film and preventing potential damage down the line. When you install window tint, it's understandable to be eager to roll down those windows and show off your new setup. However, before you do that, you need to pay attention to a few key indicators that signal complete curing.
- Clarity: One of the first things to look for is clarity. A properly cured window tint should be crystal clear without any fogginess or streaks. If you see any distortions in vision or have trouble seeing through the tinted glass, it may not be completely set yet. Poor visibility can indicate either incomplete curing or a faulty application, which can frustrate your driving experience.
- Bubble-Free: Another significant sign involves bubbles—any present should have dissipated completely. Bubbles can appear during installation if too much moisture gets trapped under the film. If you've allowed adequate time for curing and bubbles remain, it's a probable sign of an improper installation that might need addressing.
- Smooth to the Touch: Lastly, run your fingers across the tinted surface. It should feel smooth and integrated seamlessly with the glass beneath it. Any roughness or peeling at the edges could mean that the adhesive hasn’t fully set, which may lead to lifting and further complications down the road.
These factors are essential indicators of a job well done, but recognizing them correctly sets you up for continued maintenance. This recognition doesn't end with merely checking these boxes. It's necessary to adopt ongoing care practices after confirming that your window tint is fully cured. For instance, avoiding harsh cleaning solutions like ammonia and opting instead for gentle detergents can help maintain both clarity and longevity. Regularly cleaning with soft microfiber cloths will also keep residues from accumulating on the surface. Think of your window tint like a houseplant: just because you've given it water doesn’t mean you can neglect it afterward!
By nurturing your window film properly after installation, you'll enjoy not only a beautiful aesthetic but an added layer of UV protection and temperature control for your vehicle interior as well. Simple ongoing care routines will ensure your tinted windows stay in great condition and perform effectively over time.
Tips for Post-Installation Care
Proper care during the curing process enhances the longevity and aesthetic of your window tint. One of the most important aspects to consider is to avoid rolling down the windows. For at least 48 hours, resist the temptation to open them. This waiting period is vital because it allows the adhesive to bond properly with the glass. Rolling the windows down prematurely can result in bubbling or peeling, which detracts from visual appeal and can compromise your investment. Gentle cleaning is also essential during this early stage. After a couple of days, when you're ready to clean, opt for a soft cloth paired with mild soapy water. This combination helps maintain clarity without damaging the tint. It’s critical to avoid ammonia-based cleaners; while effective for regular glass surfaces, they can wreak havoc on tinted films, leading to discoloration and damage over time.
Being cautious during cleaning can prevent unexpected problems that might arise later on. Parking recommendations also play a pivotal role in post-installation care. Whenever possible, park your vehicle in direct sunlight. Sunlight helps heat up and expedite the curing process, allowing the film to bond more effectively. Be mindful of where you park; avoid positioning your car under trees where sap or debris can fall onto freshly installed tints—a sticky sap can adhere to the wet film and ruin its pristine look before it has a chance to set. Additionally, maintaining an optimal temperature inside your vehicle supports proper curing as well. Ideally, keep your car in temperatures ranging from 70°F to 100°F (21°C to 38°C). If conditions permit, running the AC or parking in a warm area will help ensure that your tint cures smoothly.
As a finishing touch after about 30 days, give your newly tinted windows a gentle clean again with that same soft cloth and mild soapy water mixture. This boosts their beauty while avoiding scratches—an essential practice for those wanting their tint job to last long without fading or degrading. By adhering closely to these practical tips, you’ll not only help maintain your window tint's appearance but also prepare yourself for potential challenges.
Avoiding Common Curing Mistakes
One of the key aspects to maintaining the quality of your newly tinted windows is understanding the mistakes that many people make during the curing phase. The most significant mistake is using harsh cleaners right after installation. Ammonia-based cleaners degrade the integrity of the tint film, leading to discoloration or even peeling over time, resulting in a costly redo. Therefore, it's crucial to use only pH-neutral cleaners specifically designed for tinted windows until you’re absolutely sure the tint has fully cured.
Another common blunder is rolling down the windows too early. Picture this: you've just had your windows tinted, you're excited to show off your car, but in moments of impatience, you roll down a window too soon. What happens next is frustrating: edges start to peel away as air rushes in, creating unsightly bubbles under the film. This scenario not only ruins the aesthetic but may also require professional help to fix it.
Most experts recommend waiting at least 3-5 days before rolling down your windows. Be patient and let the tint properly cure; your future self will thank you. And while we’re on the topic of bubbles, let’s address how to handle them. Sometimes, bubbles may appear despite our best efforts—this could happen due to various factors such as temperature or humidity during installation. However, it's crucial not to attempt scraping them off by yourself. You might think removing them would be as easy as using a blade, but this could cause irreversible damage and ruin your tint job altogether. Instead, reach out to your installer, who has specialized tools and techniques for safely getting rid of these imperfections. By doing so, you preserve not only your peace of mind but also maintain the warranty on your tint.
Lastly, keeping an eye on environmental factors can make all the difference. Temperature and sunlight play significant roles in curing time. If you park your vehicle in a shaded area immediately after installation, it can hinder proper curing. Conversely, placing it in direct sunlight can accelerate drying but may cause uneven curing if done prematurely. Pay close attention to these conditions; when possible, try to keep your car in a well-ventilated area with moderate temperatures during those first crucial days post-installation.
In summary, awareness is the first step toward avoiding common mistakes during the curing phase of window tinting. By steering clear of harsh cleaners, being patient with window usage, seeking professional assistance with bubble issues, and managing environmental factors effectively, you'll ensure that your tinted windows remain pristine for years to come.
Exceptional Window Tinting Services in West Chester, PA
Enhance comfort, reduce glare, and protect your interior with professional window tinting services from Menard Premium Detailing in West Chester, PA. Our expert installation helps block harmful UV rays and minimize heat buildup, giving your vehicle a sleek appearance while improving driving conditions year-round. Whether you're navigating busy streets or parked under the sun, our tinting solutions are designed to perform. Schedule your appointment today and experience the benefits of precision-installed window tint!