How to Clean Tinted Car Windows Without Film Damage: Essential Tips and Methods
When it comes to maintaining your vehicle, tinted windows require special attention. You want them to look clear and pristine without damaging the protective film that keeps them performing at their best. Many vehicle owners don't realize that ordinary glass cleaners can actually ruin your tint. With the right approach and products, you can easily clean your tinted windows without fear of scratching or fading. Let's explore essential tips to help you achieve crystal-clear results while protecting your valuable investment. To clean tinted car windows safely, use a microfiber cloth and a solution of mildly soapy water, avoiding ammonia-based cleaners that can harm the tint. It's advisable to clean during cooler times of the day to prevent streaking and always use two separate microfiber cloths—one for applying the cleaner and another for wiping it off.
Choosing the Right Cleaning Products
The task of cleaning tinted car windows might seem straightforward, but selecting the right cleaning products makes all the difference. Tinted windows are delicate and require special care to prevent any harm to the film that keeps them looking sharp and functioning properly. Using ammonia-based cleaners can be a surefire way to ruin your window tint, causing it to bubble or discolor over time. This risk makes ammonia-free cleaners not just a recommendation but a necessity for anyone wanting to keep their tint intact. With so many products on the market, selecting the best one requires careful consideration. Professional detailers recommend that a mixture of water and mild dish soap can work effectively as an inexpensive yet powerful alternative. This simple solution can do the job just as effectively without risking your tint's integrity. Look for pH-neutral cleaners specifically formulated for automotive use, as these will safely remove dirt and grime without compromising the film. When selecting cleaning products, consider options that clean while leaving a water-repellent coating for long-lasting clarity. However, suitability doesn't stop at product selection—your technique matters equally in ensuring your windows stay pristine.
Essential Cleaning Tools
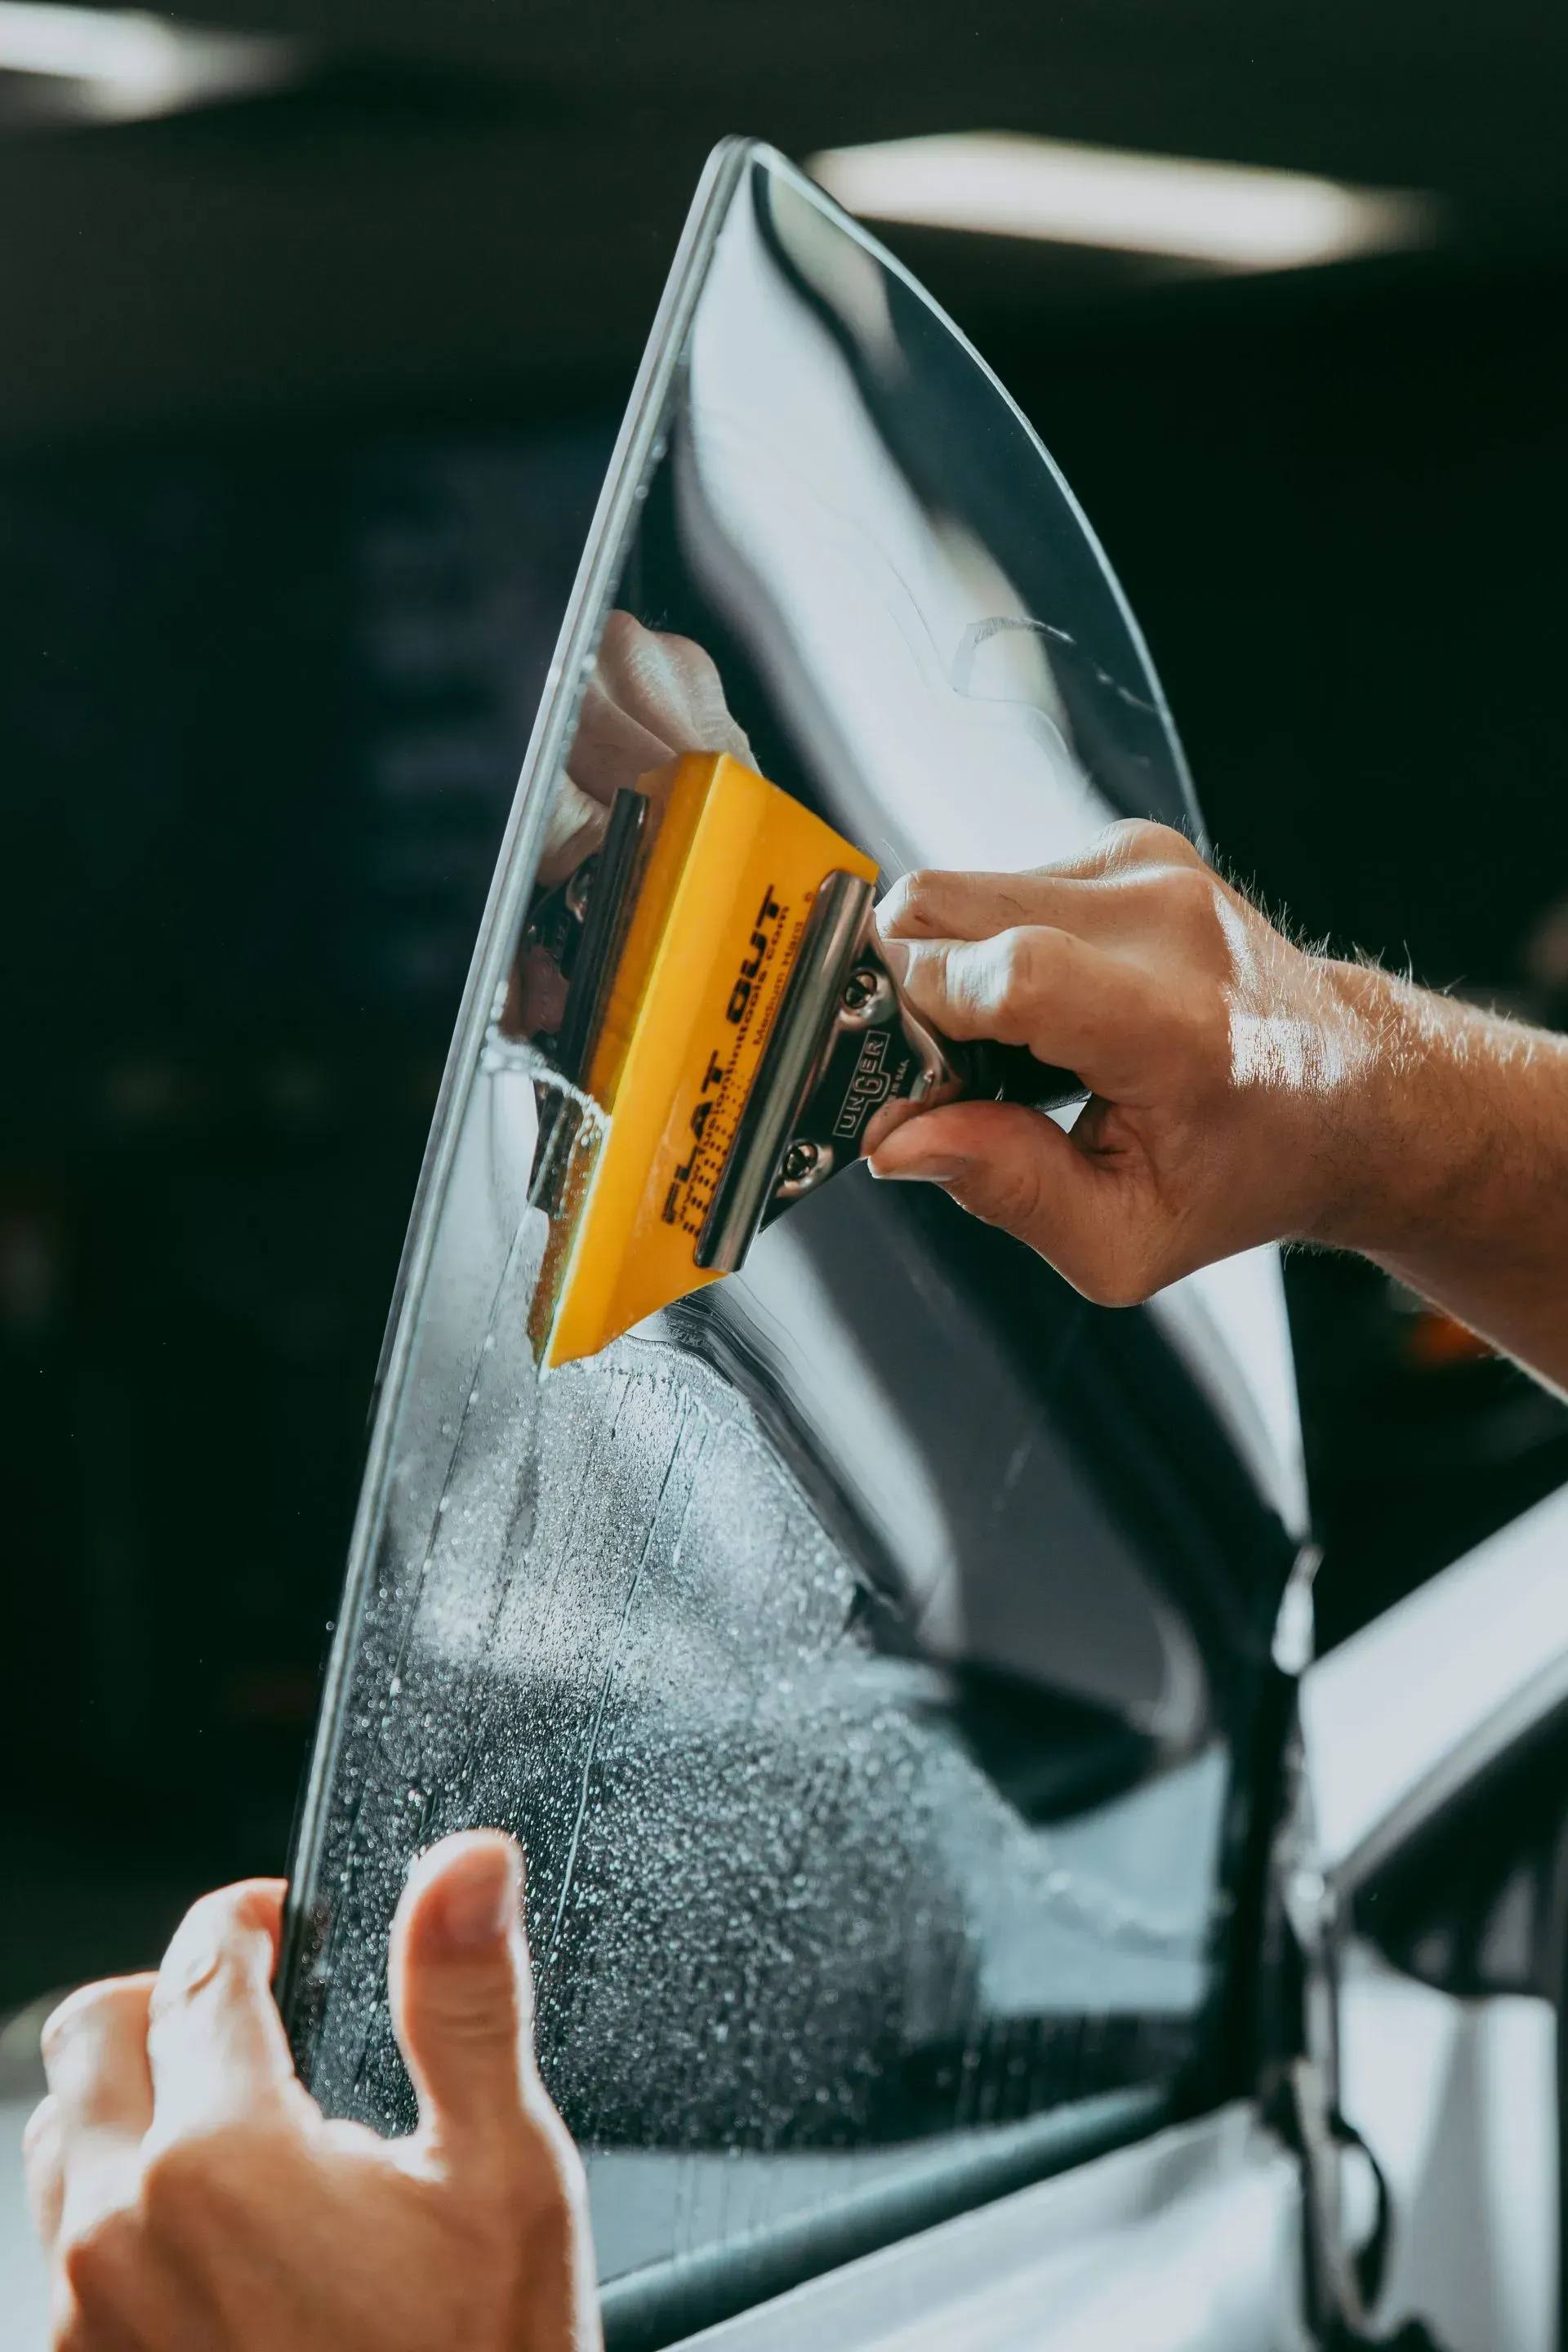
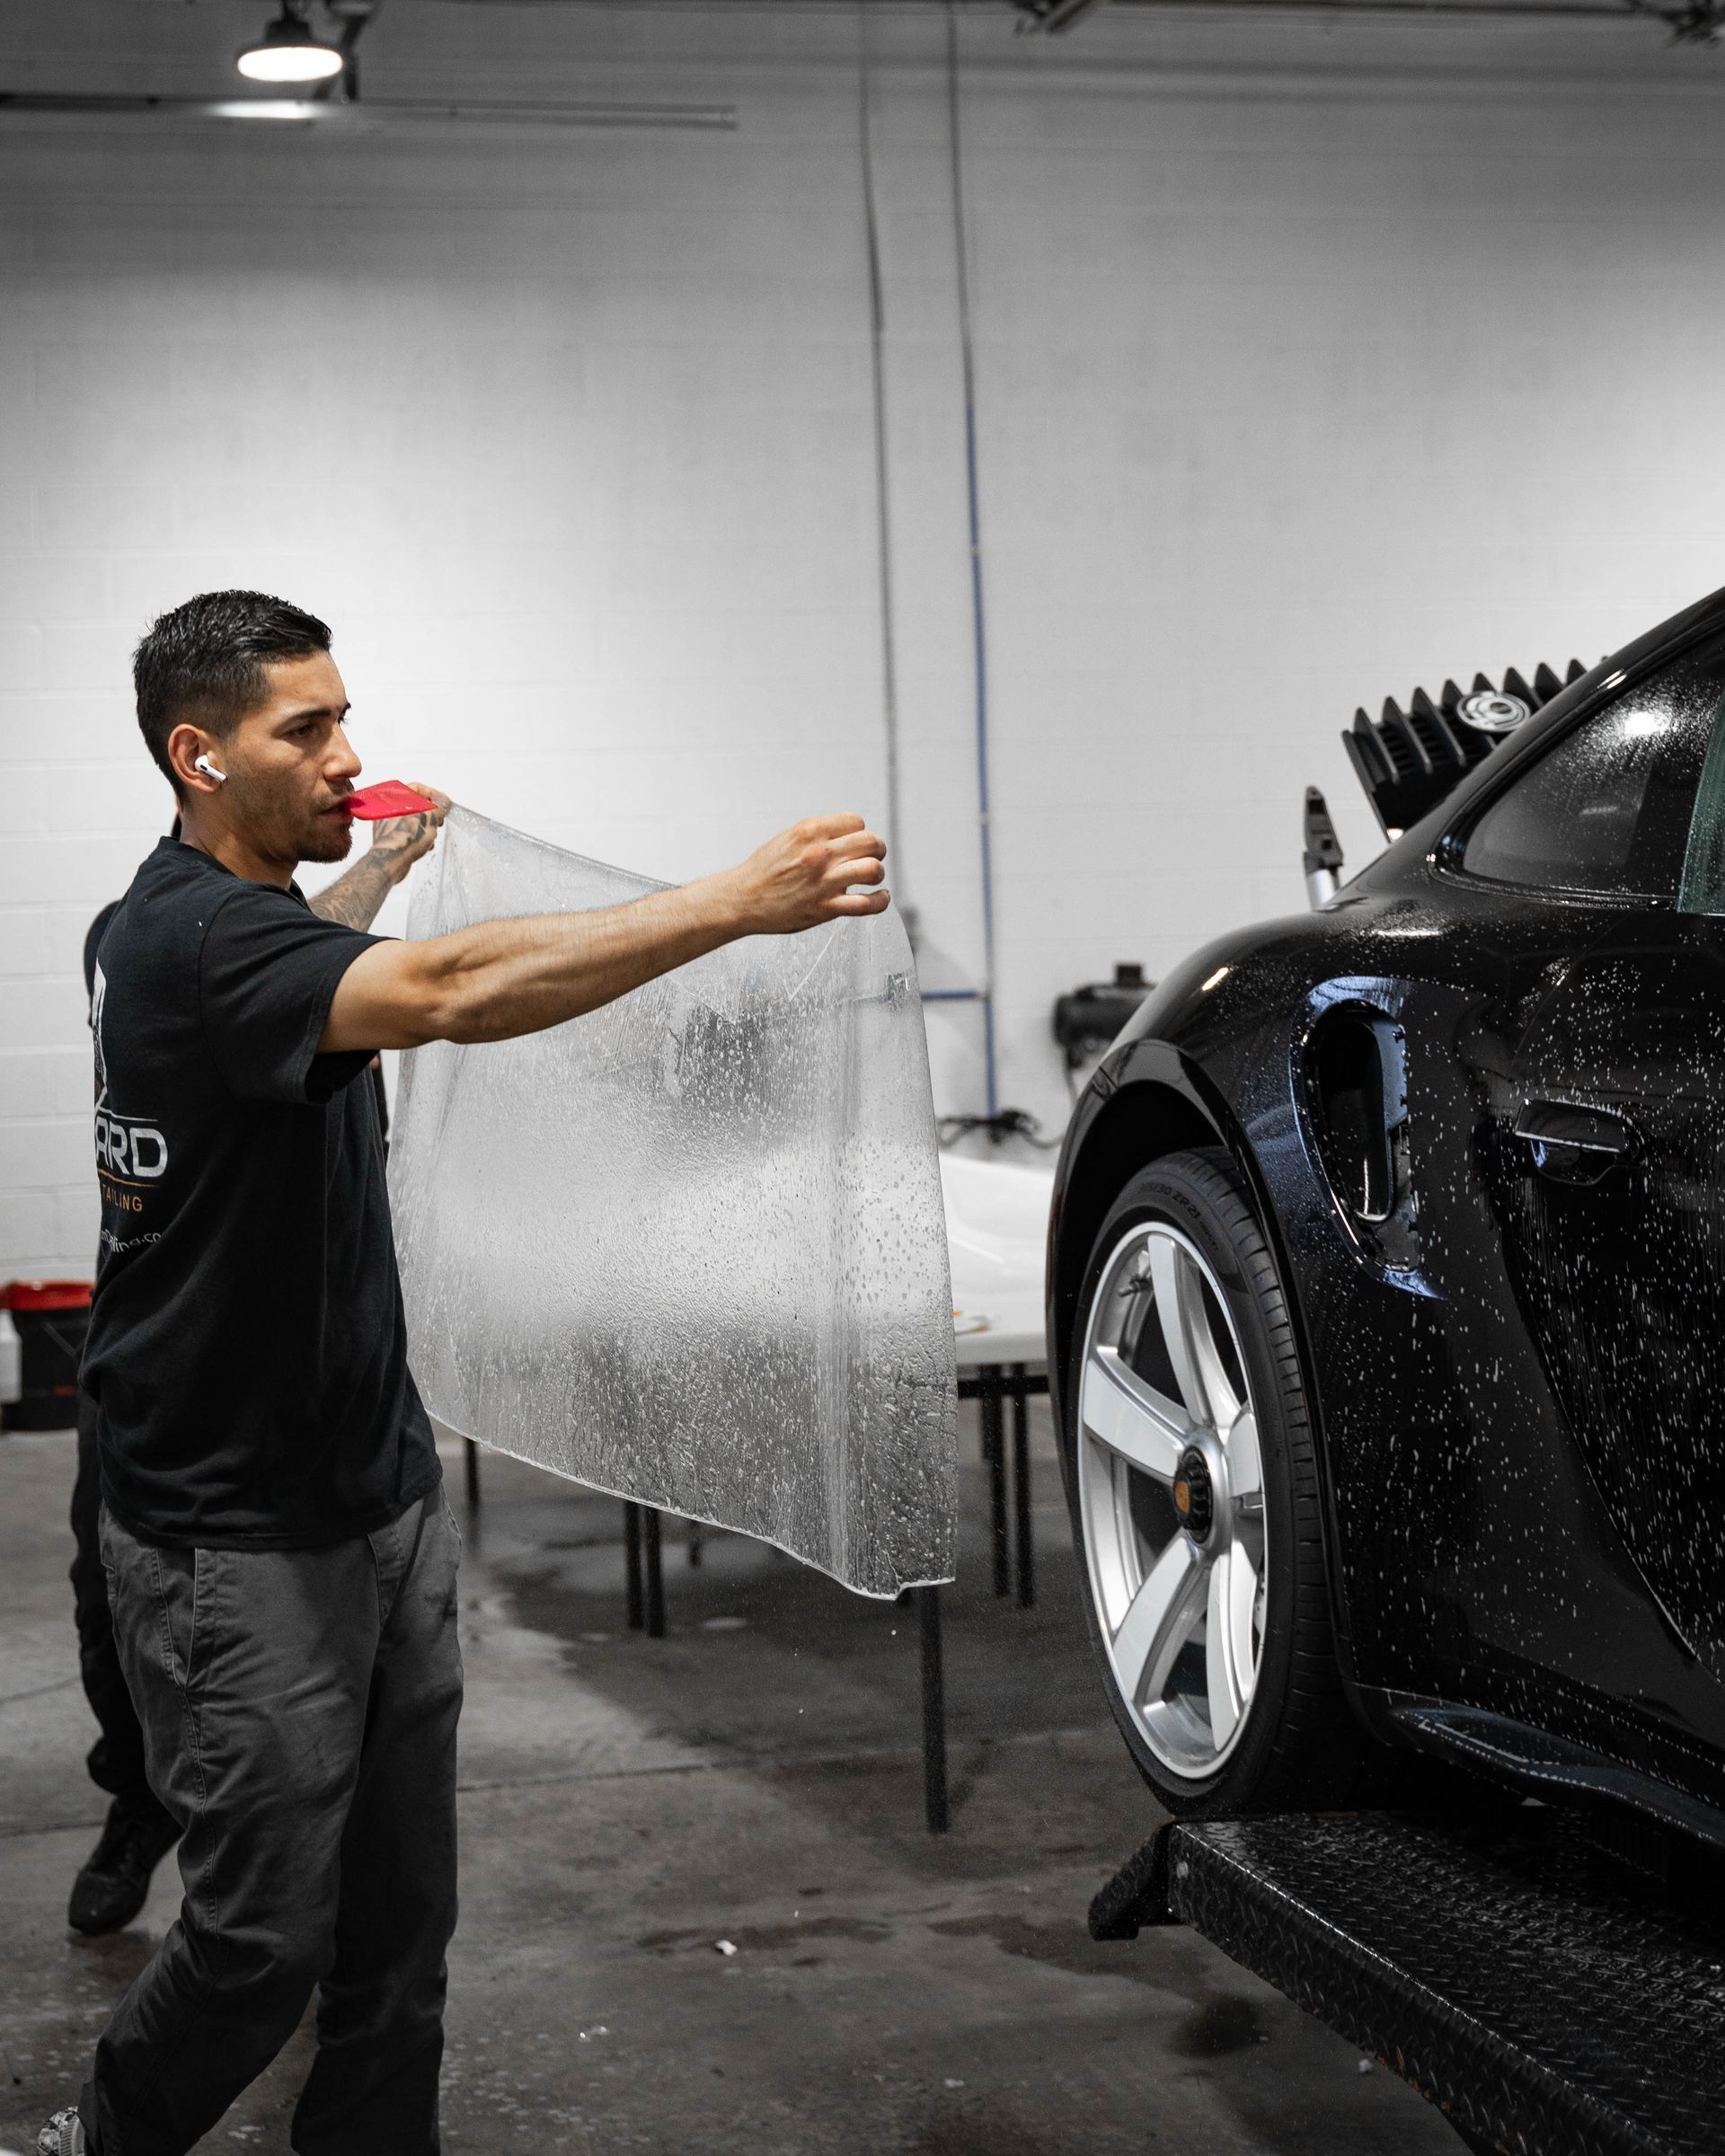
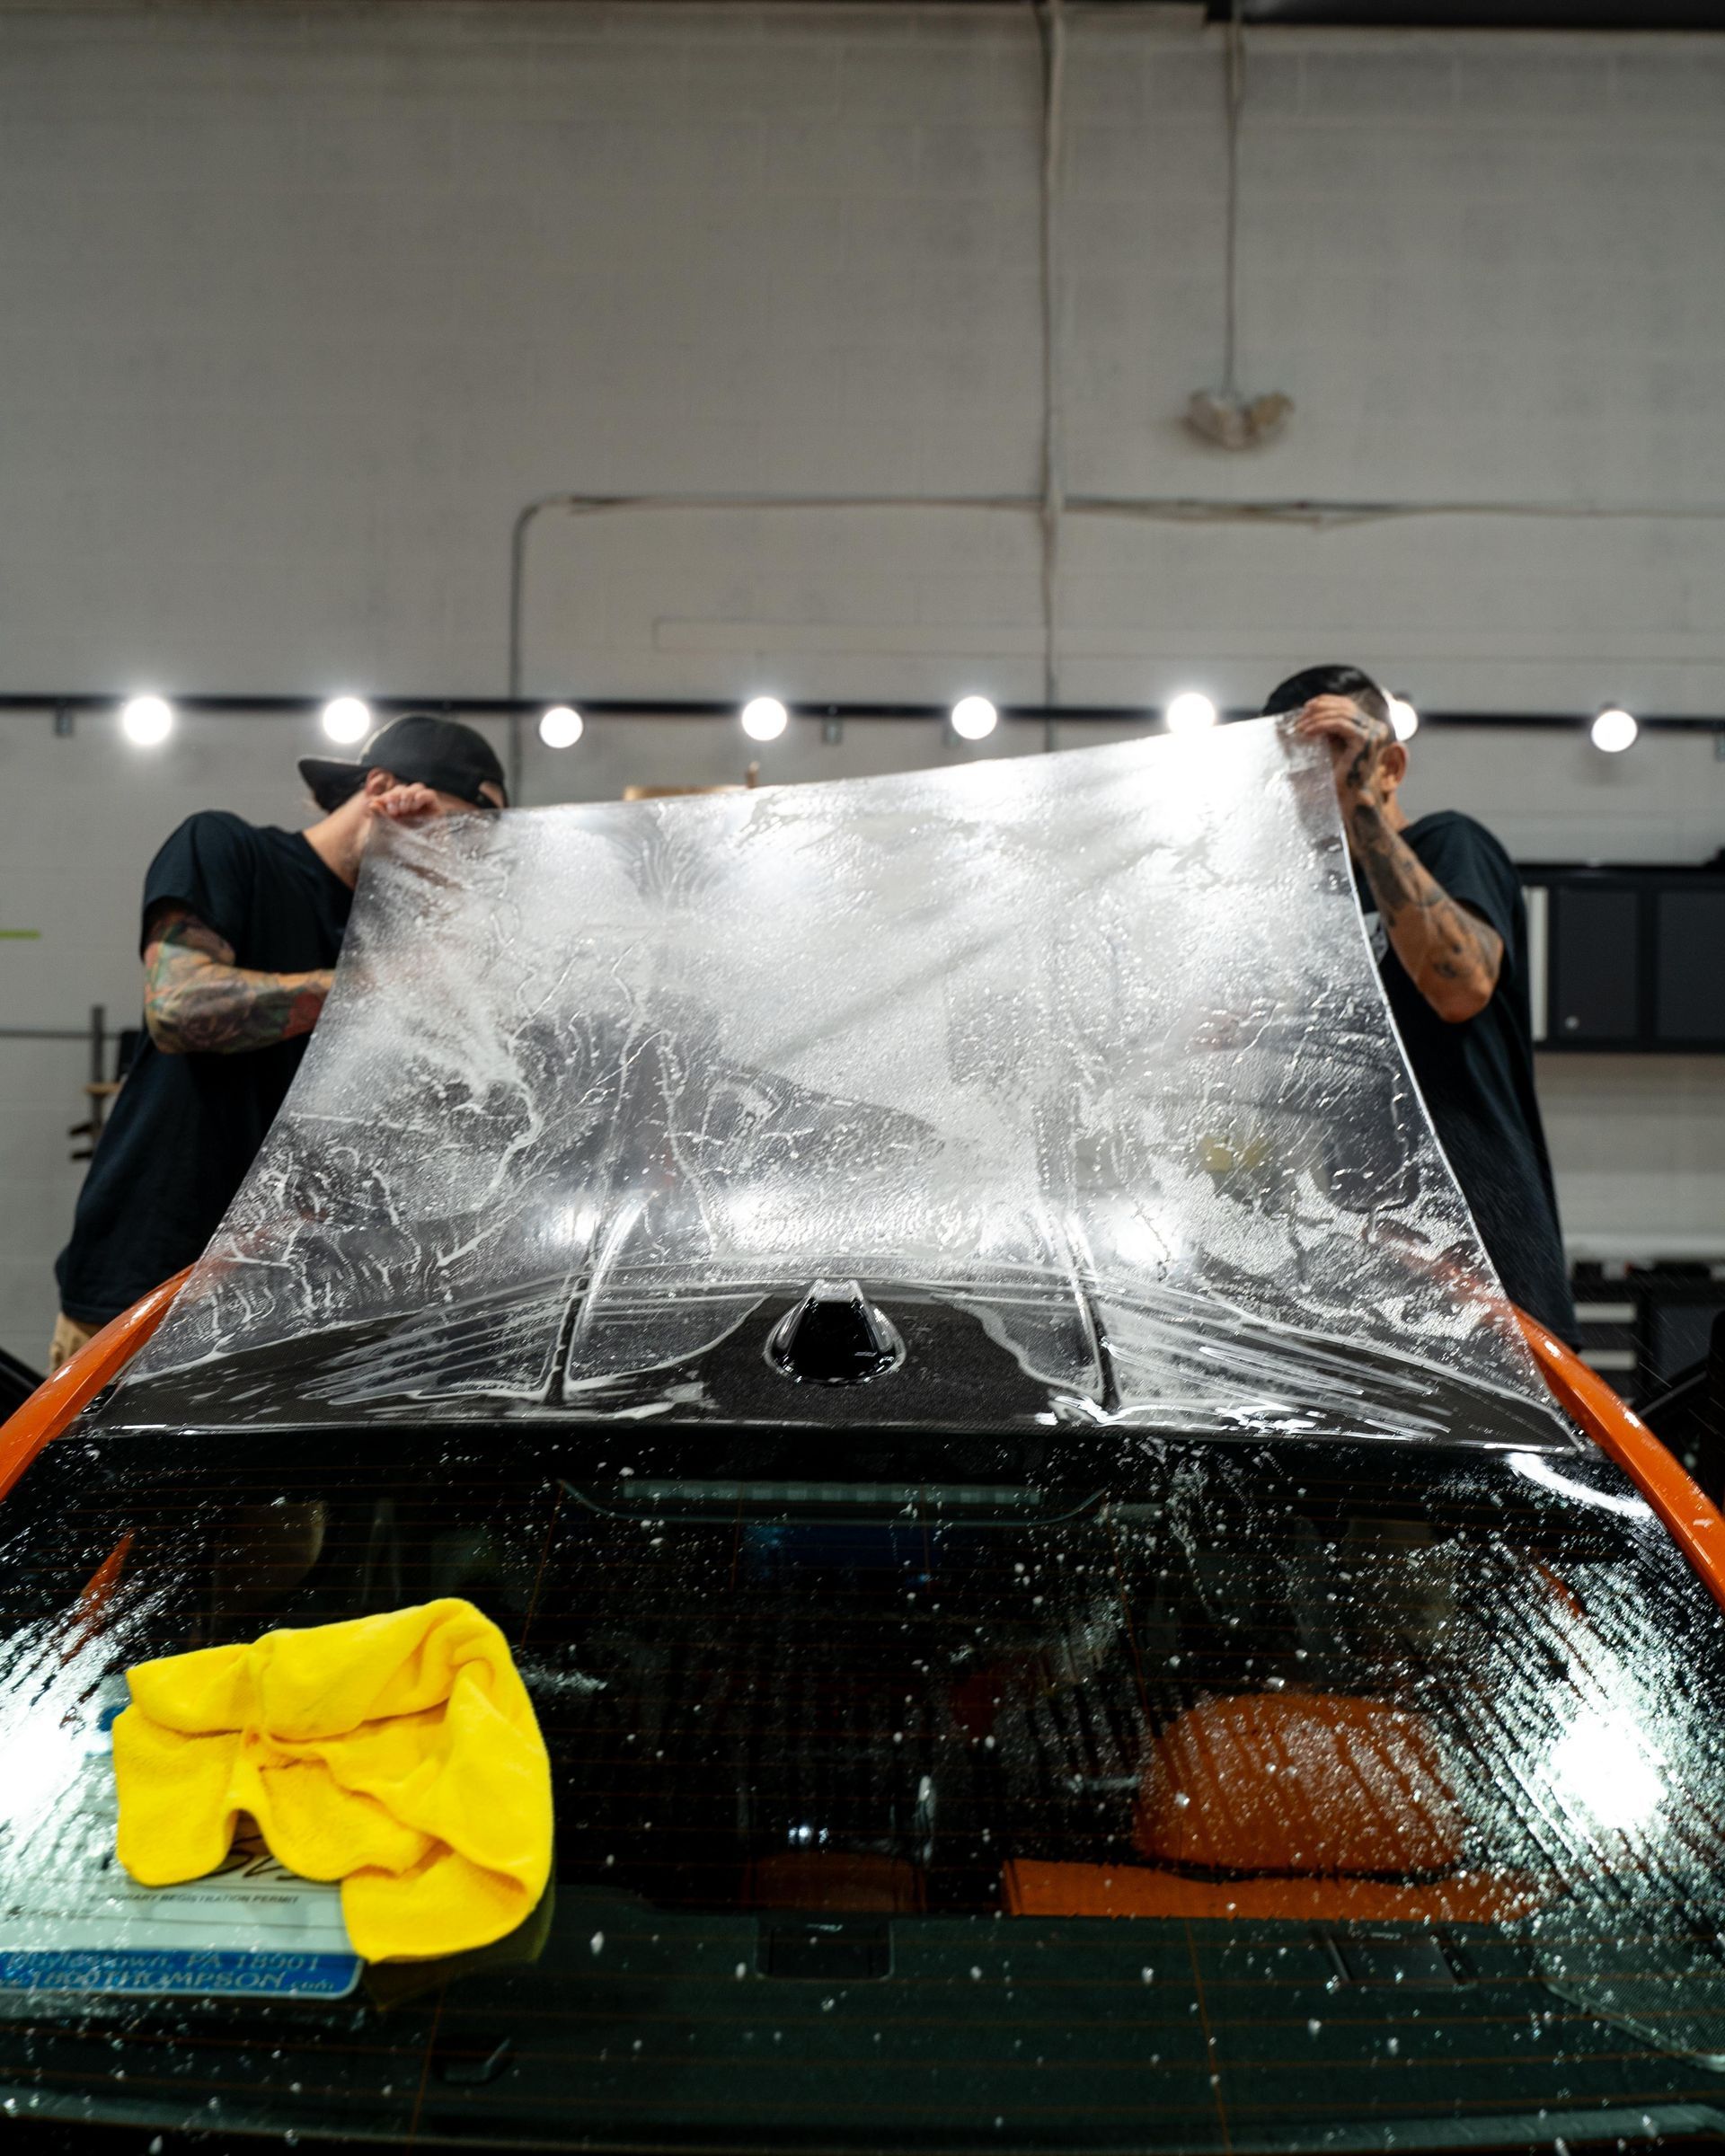
Microfiber cloths are essential in your toolkit. These cloths are not just soft; their specialized fibers gently trap and lift dust and grime without scratching the delicate tint film. This makes them invaluable when cleaning tinted windows, as they safeguard the tint and enhance the overall clarity of your glass. A squeegee serves as another must-have tool. This handy implement helps remove excess cleaning solution without leaving behind unsightly streaks. Its long blade is perfect for covering large areas of glass quickly and efficiently. However, it's important to handle the squeegee delicately—too much pressure can damage the tint. Think of it as a gentle glide rather than a firm shove, lightly pulling the squeegee for a fantastic finish.
You might be tempted to reach for paper towels due to their convenience, but resist the urge. While they may seem like a quick option, paper towels can leave lint behind and potentially scratch your window surfaces—definitely not ideal for maintaining the quality of your vehicle. A good spray bottle allows you to distribute your ammonia-free cleaner evenly across the window surface without saturating it. This helps achieve an optimal cleaning experience, ensuring every corner receives adequate attention for a thorough clean. The fine mist also minimizes dripping, which can lead to unwanted streaks and additional work. Remember, cleanliness matters—not just for aesthetics but for safety too. Maintaining visibility through clean windows reduces glare, especially during bright conditions, enhancing your overall driving experience.


Preparing Your Car Windows
Proper preparation is an essential step that lays the groundwork for effective cleaning. The very first step is to park your vehicle in a shaded area. This simple action can dramatically improve your results. Cleaning and drying too fast in direct sunlight can lead to irritating streaking that obscures your view and makes the job seem futile. Next, roll down your windows slightly. Dirt often gathers along the edges where the window meets the frame. By rolling down the windows just enough to expose these areas, you're ensuring a more comprehensive clean. Those hidden spots can really impact clarity and overall appearance.
Always take a moment to inspect your tinted windows for any scratches or damage before you begin cleaning. This awareness helps ensure you avoid worsening any existing issues during your cleaning efforts. After identifying these critical areas, gather your supplies: microfiber cloths, a soft sponge, and a gentle ammonia-free window cleaner tailored for tinted surfaces. Ensuring all materials are ready allows for a smooth transition into the actual cleaning process, enabling you to flow through each step efficiently without interruptions. It's vital to handle aftermarket tinted windows with care, as they require more delicate attention compared to factory tint, which is typically more resilient. Knowing this difference ensures you're equipped with proper methods and products suited for the task. Check for loose dirt or debris on the window surfaces using a dry microfiber cloth first. This step reduces the risk of scratching while you clean and sets the stage for achieving that pristine finish.
Safe Cleaning Techniques
Applying the right techniques ensures that the tint remains undamaged. One of the most important practices you can adopt is spraying your ammonia-free cleaner onto a microfiber cloth rather than directly onto the window. This simple yet effective method promotes even distribution of the cleaning solution and minimizes the risk of oversaturation. If you spray directly on the glass, it could easily seep into the edges where the tint meets the glass, creating potential issues like peeling or bubbling down the line. By using a cloth, you're allowing for precise application, effectively protecting your investment. Once you have your cleaner ready, start with that lightly dampened microfiber cloth and move on to gentle cleaning motions. As you wipe, use a soft, circular motion beginning at the top of the window and working your way down. This technique is vital because it helps to prevent streaks and ensures dust and grime are removed rather than merely spread around. After you've cleaned each window, it's important to dry off any remaining solution. For this task, grab another clean, dry microfiber cloth and use straight wiping techniques. Rather than scrubbing, let the cloth smoothly glide across the surface from one side to another to ensure no residues are left behind.
Avoiding Common Mistakes
One of the most detrimental choices many make while cleaning tinted windows is opting for paper towels. While they may be convenient, paper towels can scratch the surface of your tint and leave behind unsightly lint. Always reach for a microfiber cloth, which is soft and designed to clean without causing any harm. Another significant misstep is applying too much pressure when cleaning. It's tempting to scrub vigorously on stubborn spots, but this can lead to serious damage, causing the film to lift or bubble. A lighter touch produces better results—just enough pressure to remove grime without compromising the integrity of the tint. It's crucial to steer clear of ammonia-based cleaners as well. These substances can wreak havoc on your window tint, leading to discoloration and deterioration over time.
Always choose cleaning products that are specifically formulated for tinted windows to protect your investment and keep them looking pristine. Don't forget to pay attention to the edges of your windows. Many people overlook this area, assuming that if the surface looks clean, all is well. However, buildup along the edges can lead to premature damage of the tint film and might even compromise its adhesive properties. Regularly inspect these areas during cleaning sessions to ensure they remain free from dirt and residues.


Long-Term Tint Maintenance
Long-term care ensures that your tint remains in top-notch condition for years, allowing you to enjoy every benefit it offers, from UV protection to increased privacy. Regular and consistent cleaning maintains visual appeal, but there's much more at play when it comes to preserving that tint. One important aspect of this maintenance involves routine cleaning to prevent dirt accumulation. Over time, even minimal exposure to sunlight can cause deterioration of the tint layer if left unchecked. Applying a UV-protective spray every six months is an effective way to shield your tint from potential sun damage. This helps prolong its lifespan and aids in maintaining its original appearance. Beyond cleaning and protecting, another significant element involves inspections every few months for signs of wear. Common issues like peeling or bubbling can signal more profound problems if neglected. The earlier you can spot these issues, the better chance you have of addressing them before they escalate.
Tips for Stubborn Stains
Sometimes, despite your best efforts at regular cleaning, stubborn stains—like sticky fingerprints or residue from spills—can cling to your windows. Fortunately, there's a way to tackle these without harming your tint. One effective method is to create a gentle yet powerful solution using 70% isopropyl alcohol combined with water. This mixture is particularly useful for breaking down deeper residues while preserving the integrity of the film. It's crucial to remember that any new cleaning method should start with a simple test. Before applying this solution broadly, test it on an inconspicuous area of the window to ensure it doesn't damage the tint. To effectively remove stubborn marks, mix 70% isopropyl alcohol with an equal part of water in a spray bottle. Spray a small amount onto a soft microfiber cloth rather than directly onto the glass to avoid oversaturation. Apply the cloth to the stained area and use gentle circular motions to lift the stain away. Once you've worked on the stain thoroughly, take another damp microfiber cloth and wipe down the area to remove any remnants of the cleaner.
Follow-up care is just as important. After you're done cleaning, ensure that no moisture is left on the surface by drying it gently with a clean cloth. This step will help prevent any drips or streaks upon drying. With these tips and methods at hand, maintaining the clarity and quality of your tinted car windows becomes an achievable goal. Whether you're preparing your vehicle for daily drives or maintaining its appearance for special occasions, proper window care protects your investment and enhances your driving experience. Regular maintenance not only preserves the aesthetic appeal of your vehicle but also ensures optimal visibility and comfort for years to come.
Top Window Tinting Services in West Chester, PA
Menard Premium Detailing offers
professional window tinting services in West Chester, PA, designed to enhance your driving comfort while protecting your vehicle’s interior from heat and harmful UV rays. Our premium window films reduce glare, improve privacy, and help maintain a cooler cabin even on the sunniest days. With expert installation and precision detailing, we ensure a seamless finish that perfectly complements your vehicle’s look.
Contact our team today to schedule your window tinting service and experience a cooler, more comfortable ride!